How to Upcycle Cargo Pants Into Trendy Fits: 10 Easy DIY Projects
How to use this guide
Choose ideas based on the materials, time, skill level, and finish you can realistically manage. For any dye, bleach, paint, or alteration project, test on a spare piece first and follow the product safety instructions.
What do you do with a pair of cargo pants that still has perfectly good fabric but a shape you stopped reaching for years ago? The answer is not the donation bag. Heavy cotton twill is one of the most forgiving fabrics to cut and re-sew: it holds a crease, it takes a topstitch without puckering, and it survives a seam ripper without fraying into nothing. The baggy silhouette is the problem, and the silhouette is fixable.
This guide walks through ten projects that turn one tired pair of cargo pants into pieces you will actually wear, ordered from easiest to hardest. Every project lists its measurements, its seam allowance, and its difficulty rating, so you can start with the taper and work up to the corset top without guessing.
The single rule for all ten is the same: pin the garment while you are wearing it, and walk around the room before you sew a single stitch. Cargo twill does not stretch, so a taper that feels fine standing still can lock up your knees on stairs. Measure twice, pin once, test the fit, then sew.
Materials Table: What Each Project Needs
| Project | What you need | Difficulty |
|---|---|---|
| 1. Tapered ankle crop | The legs as they are, plus matching thread, pins, chalk, iron | Easy |
| 2. Utility denim skirt | Both legs with inseams opened, plus a button or hook, thread, seam ripper, pins, iron | Medium |
| 3. Cropped utility vest | The waist and hips, plus a heavy duty needle, thread, seam ripper, shears | Medium |
| 4. Cargo corset top | Leg panels, plus boning or firm interfacing, a zip, pins, chalk, machine | Hard |
| 5. Contrast patchwork trousers | Two pairs of pants, plus matching thread, shears, pins, iron | Medium |
| 6. Drawstring cargo shorts | The legs cut at the knee, plus drawstring cord, thread, shears, pins | Easy |
| 7. Utility tote bag | Both legs, plus thread, optional padding, shears, heavy duty needle | Easy |
| 8. Buckle strap accents | The pants as they are, plus buckles and webbing from old bags, heavy duty needle | Easy |
| 9. Sash tie waist | A strip cut from the legs, plus thread, shears, pins | Easy |
| 10. Embroidered pocket details | The pocket flaps as they are, plus embroidery thread, patches, embroidery needle, hoop | Easy |
Thread weight matters more than thread colour on twill: use a heavy duty polyester thread, not the fine cotton thread sold for quilting, because the fabric will pull a light thread apart at the seams. Threads Magazine has the clearest free guide to matching thread weight to fabric weight if you are unsure what your machine can handle.
The Tapered Ankle Crop
Difficulty: Easy. Time: about 1 hour. Measurements: taper 1 to 2 inches per side from the knee to the ankle, 5/8 inch seam allowance.
Fit note: Start the taper at the knee, never at the thigh, so the knee keeps its full range of motion.
Excess fabric at the hem drags down your entire silhouette. Put the pants on inside out, pinch the excess at the ankle until the leg falls straight, and mark the new seam line with chalk. Sew the new seam at a 5/8 inch allowance, press it open, and try the pants on before you trim the excess. If the taper is wider than 2 inches per side, add a small vent at the ankle, a 2 inch slit, so the leg still opens enough for your foot.
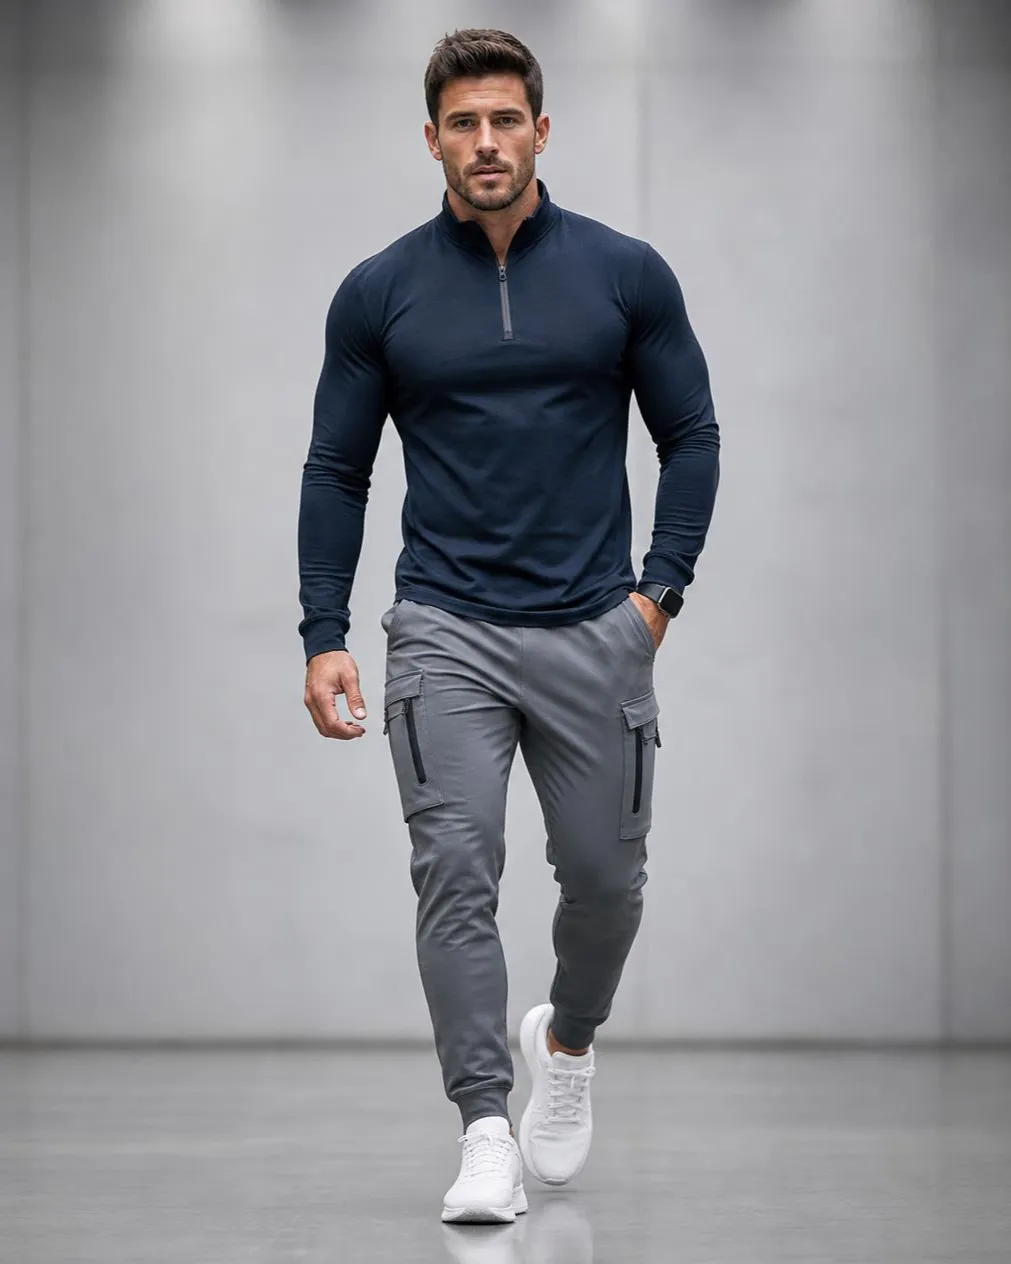
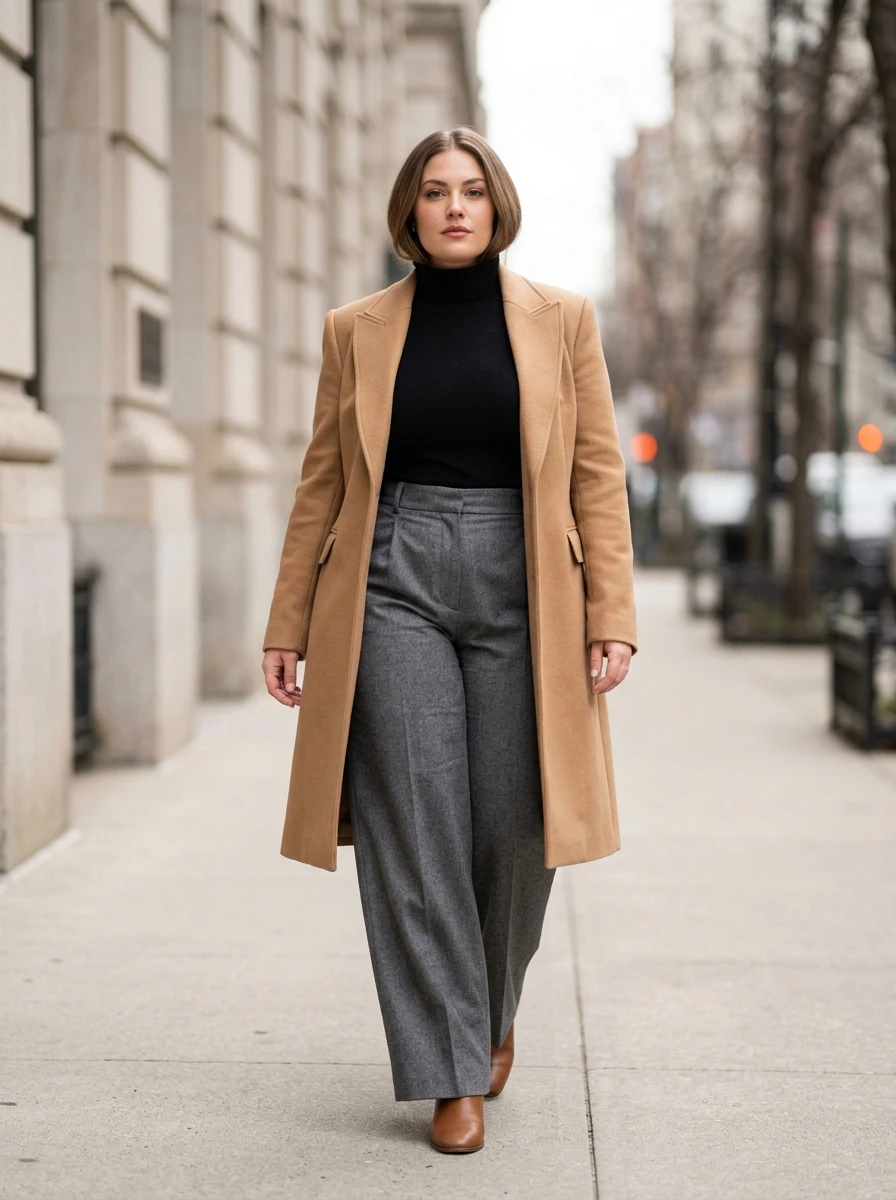
This adjustment removes the overwhelming bulk while keeping the signature cargo pockets intact, and it turns a baggy work pant into a tailored piece that pairs with chunky loafers or sleek leather boots. A tapered ankle also balances heavier footwear, because the narrower opening sits neatly over the shoe instead of pooling around it.
Utility Denim Skirt — From Wide Leg to Midi
Difficulty: Medium. Time: about 2 hours. Measurements: midi length, 24 to 28 inches from waist to hem depending on height; 5/8 inch seam allowance; a 4 inch back slit.
Fabric note: Cotton twill presses into a crisp edge, which is exactly what a midi skirt needs to hold its shape instead of collapsing at the hem.
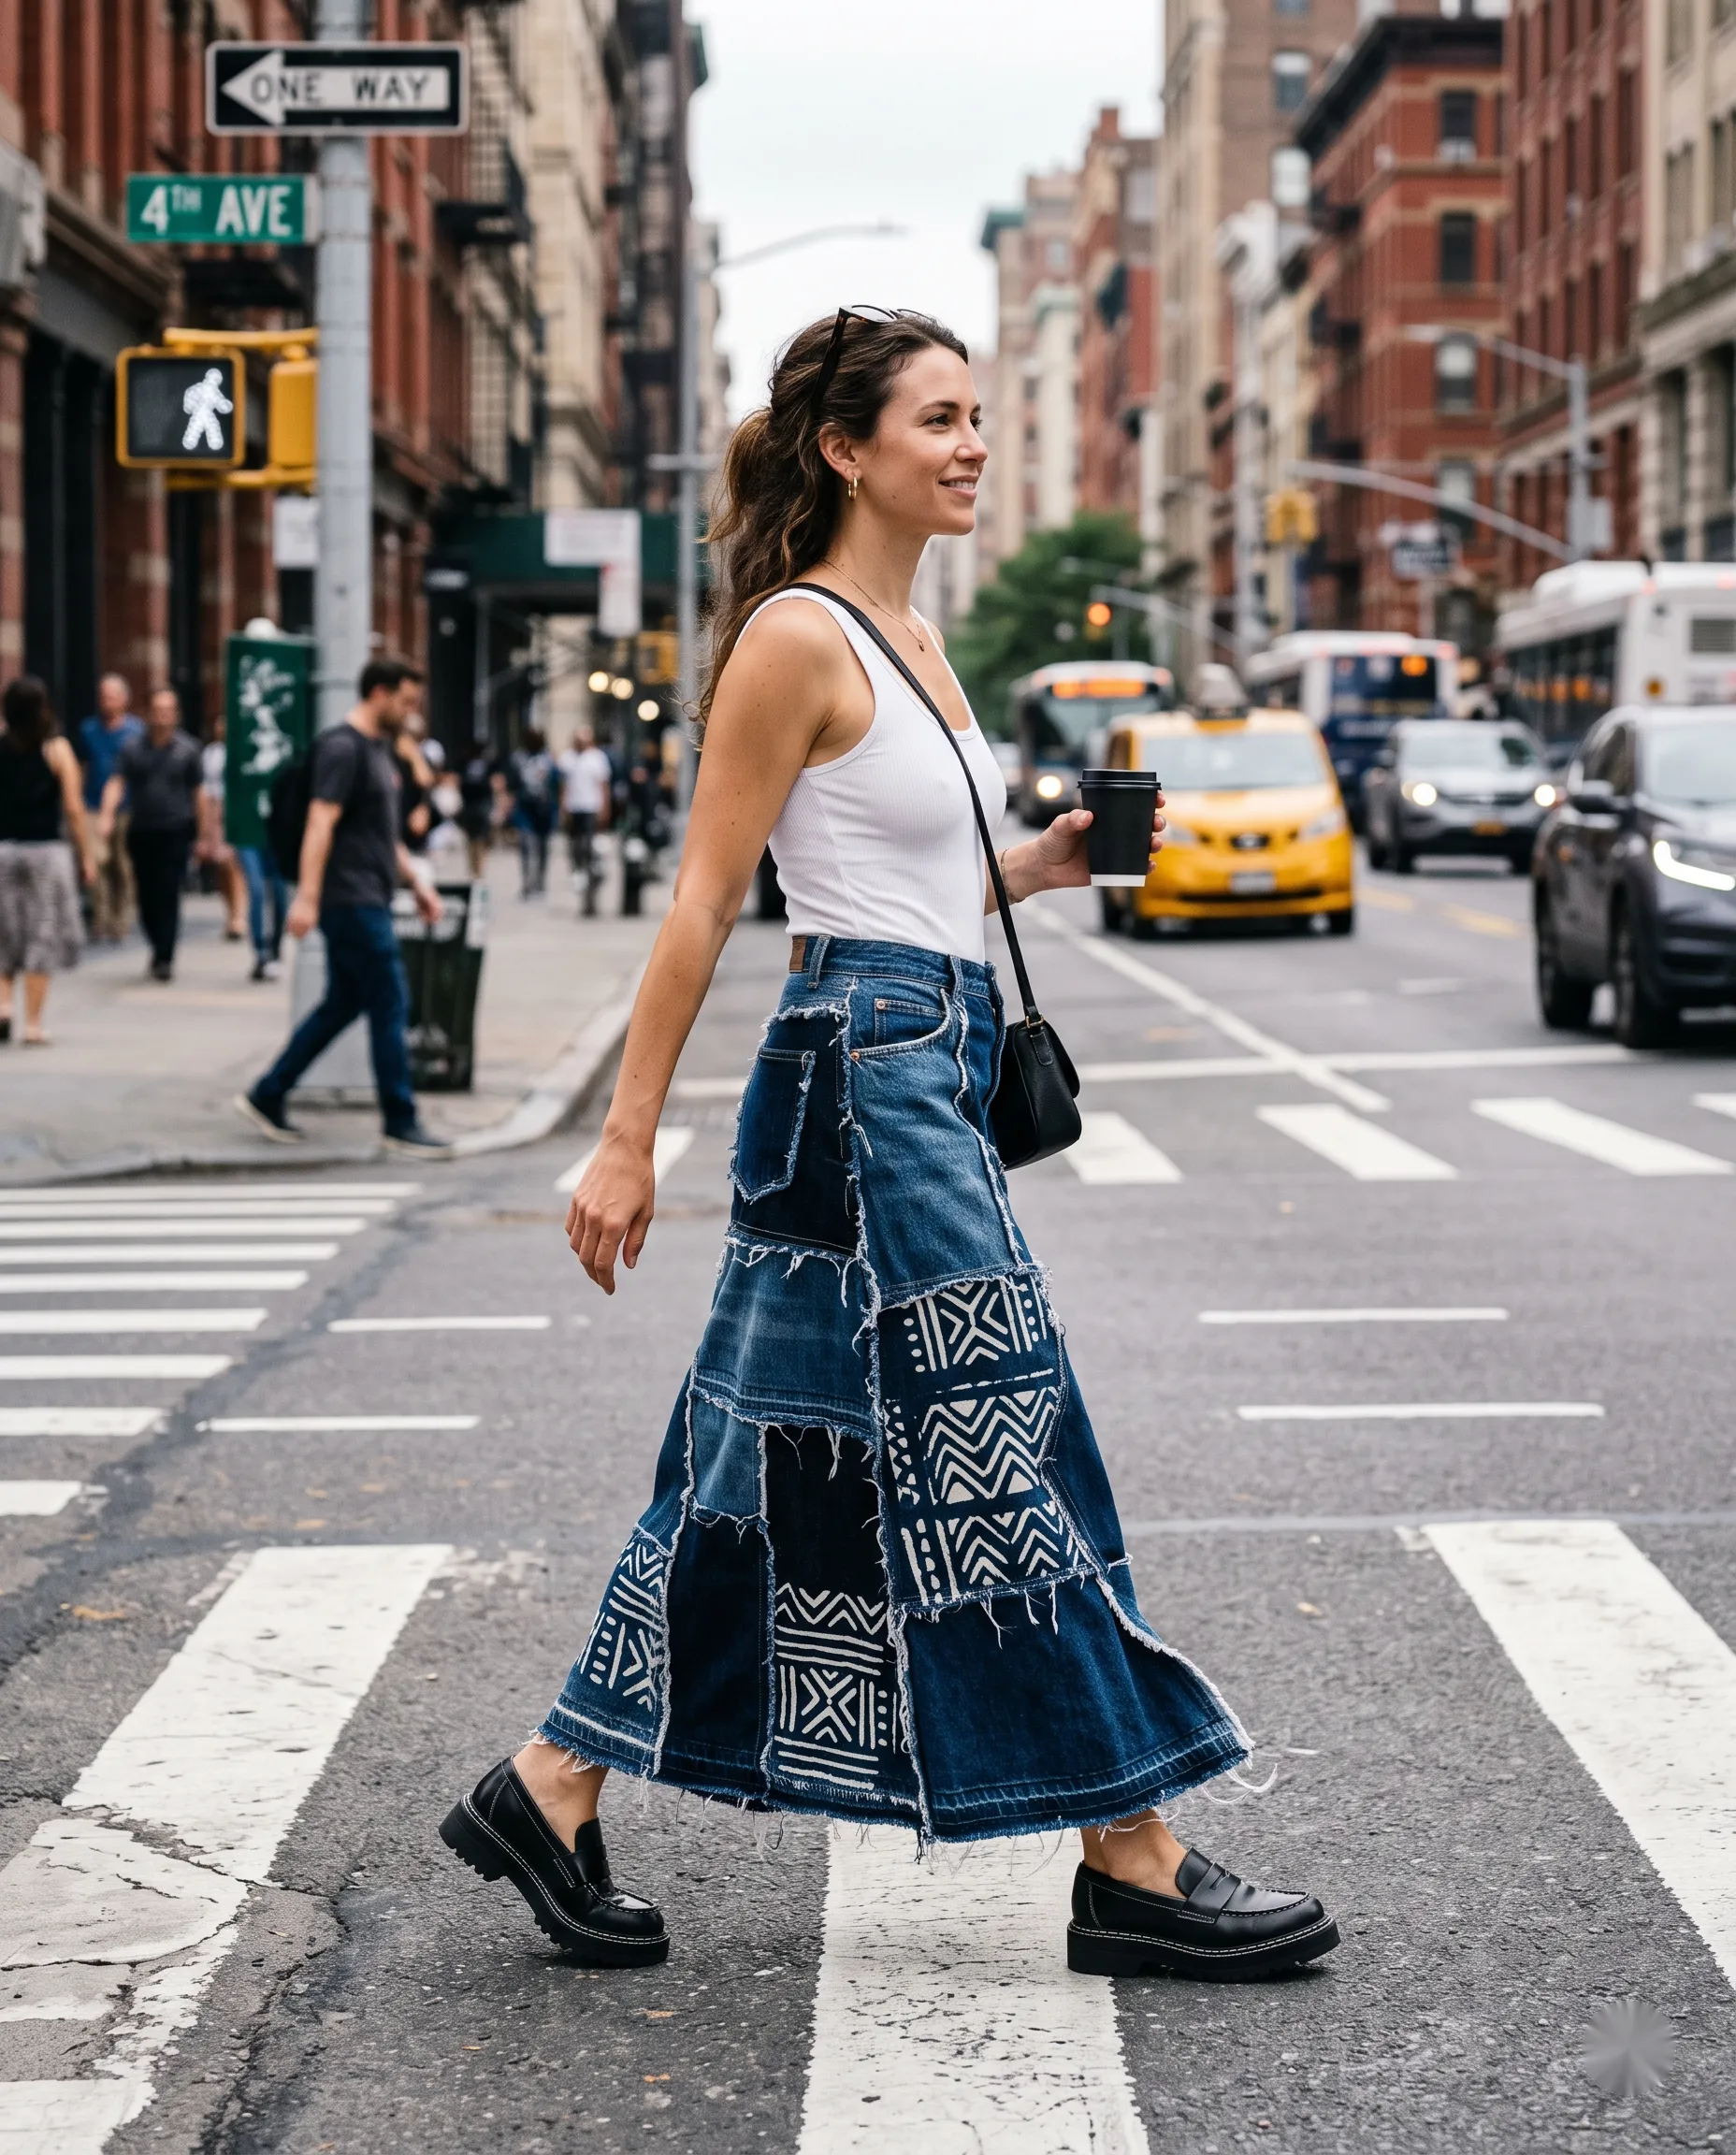
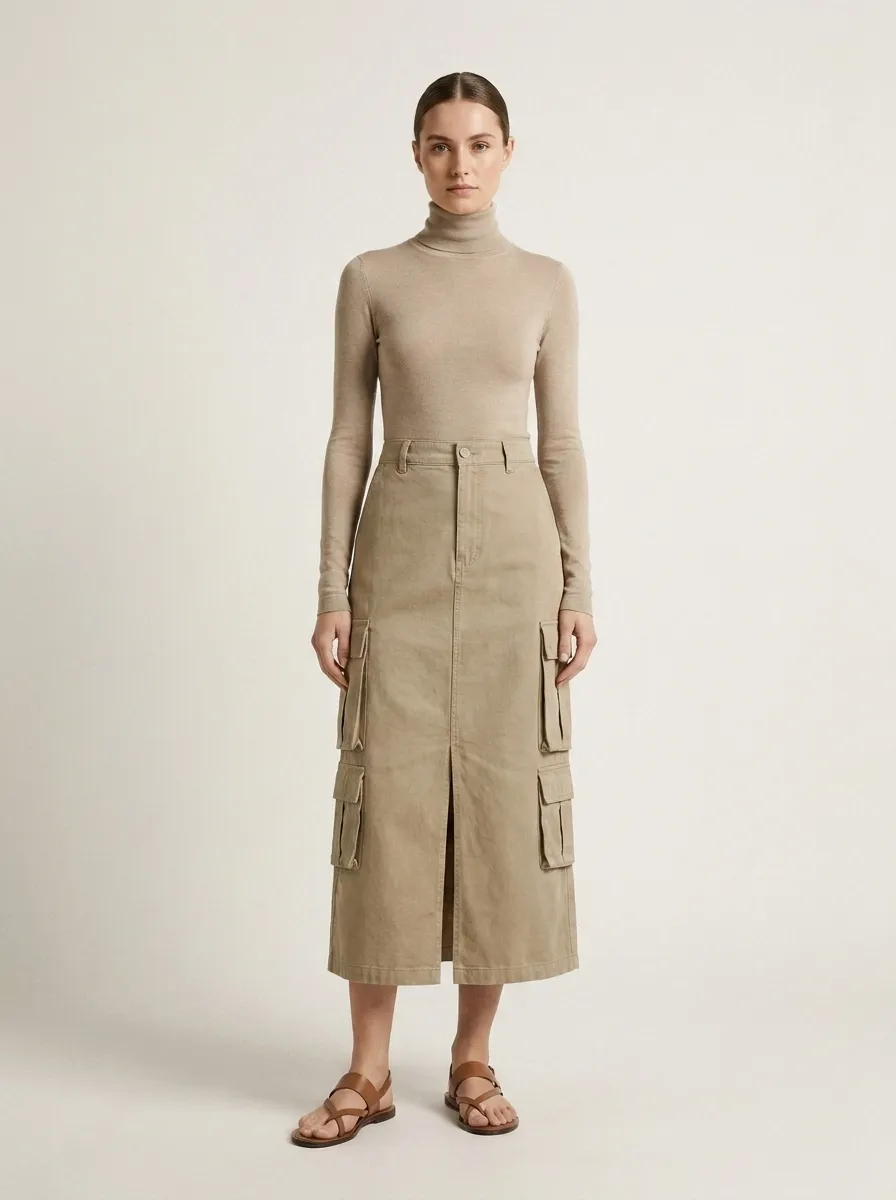
Take a pair of wide leg cargo pants and carefully open the inseams with a seam ripper to create a midi length skirt. Overlap the front and back panels so the centre front sits flat, then pin the overlap and sew it down with a topstitch. The pockets move to the side or front, adding a functional edge to your outfit.
A steady hand with the seam ripper matters here: work one stitch at a time and keep the blade flat against the seam, because a slipped ripper will cut the twill itself. Add a small slit at the back hem, 4 inches high, to ensure you can walk naturally. This piece works well with fitted turtlenecks or boxy graphic tees for a balanced shape, and the same panel overlap technique appears in the cut up tee guide for reshaping jersey.
The Cropped Utility Vest
Difficulty: Medium. Time: about 2 hours. Measurements: cut 2 inches below the crotch seam; keep the waistband as the hem; 5/8 inch seam allowance.
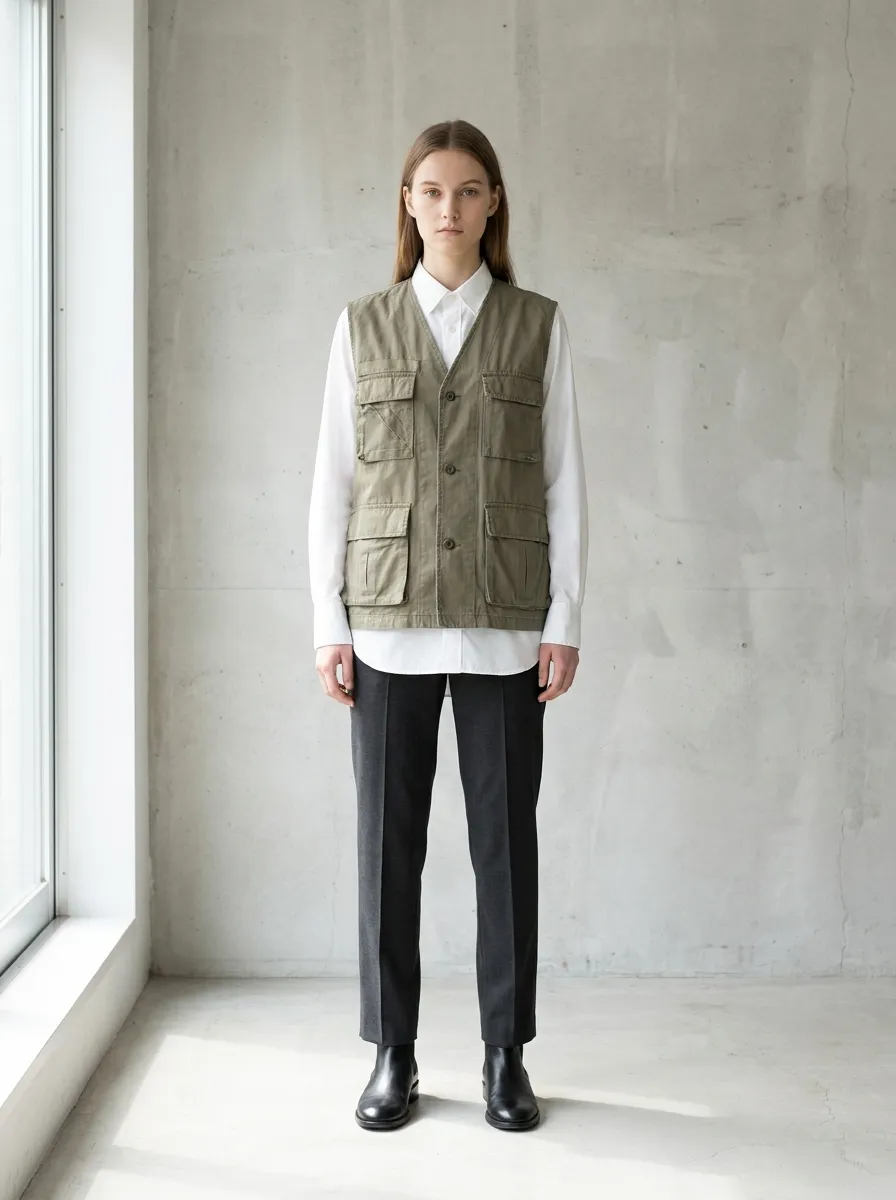
Wear it with: A white button down shirt underneath, so the collar fills the open neckline and the vest reads as a deliberate layer rather than a cut-off.
If the legs of your cargo pants are worn out, cut the upper portion to create a structured utility vest. Keep the existing waistband as the hem, because it already has the right curve and the button closure built in. Remove the excess fabric from the crotch area and reattach the pockets to the chest or sides of the vest, sewing them down with a heavy duty needle through the thick seams.
The main cost here is the time spent on clean edge finishing: bind the armholes with bias tape or fold them under twice and topstitch, because a raw armhole on twill will fray within two washes. Once the edges are finished, the vest layers over simple white shirts and looks far more expensive than the pants it came from. A white button down shirt underneath is the cleanest base for this vest, since its collar fills the open neckline.
Cargo Corset Top: The Statement Project
Difficulty: Hard. Time: about 3 hours. Measurements: cut panels 2 inches wider than your bust measurement to allow for the seam and boning channels; 5/8 inch seam allowance; boning channels every 3 inches.
Fit note: Add 1 inch of ease at the bust and 2 inches at the waist, or the top will be unwearable after ten minutes. Measure for breathing room, not for a flat pattern.
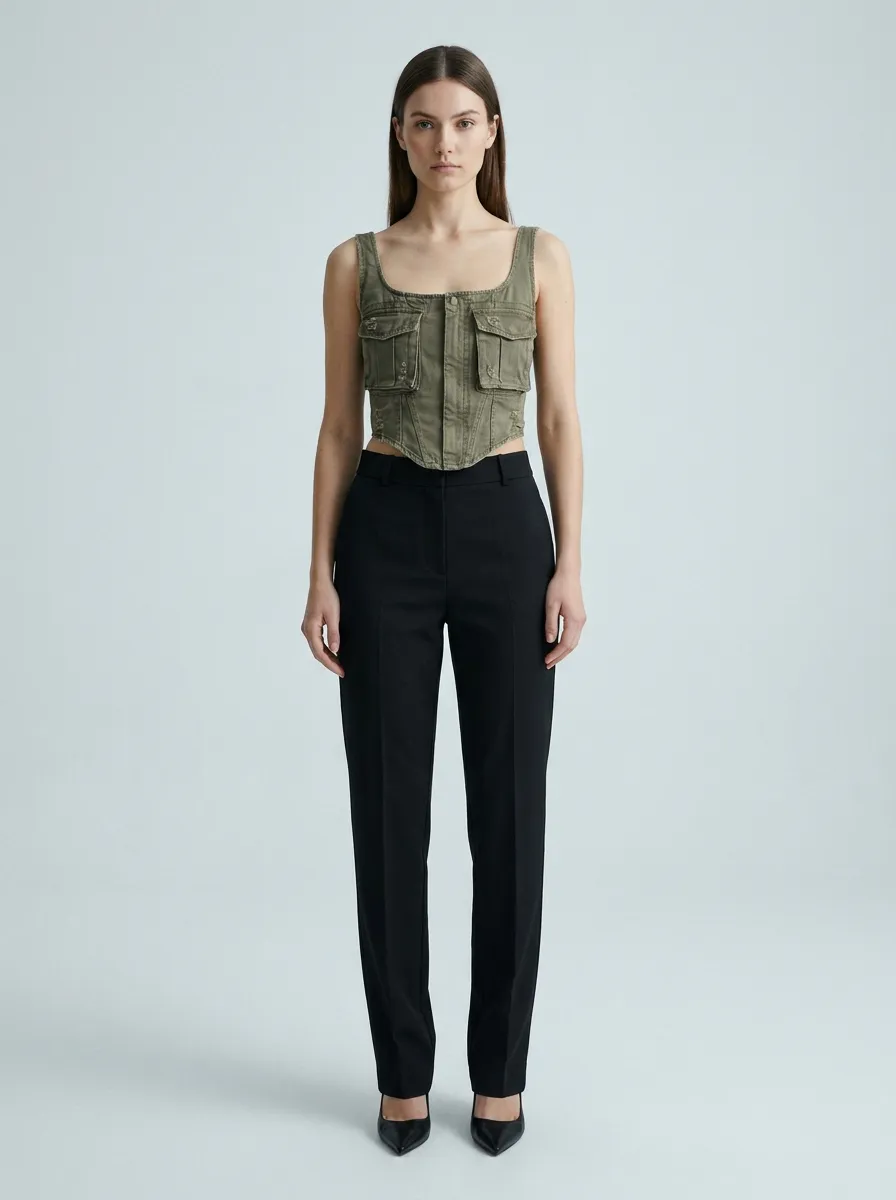
The fabric from cargo pants is often durable enough to support the structure of a corset style top. Cut panels from the legs to create a bodice that features the original pocket flaps as decorative elements. This look brings a rugged material into a feminine context, making it a great choice for evening outings or layered under blazers. You will need to add boning or firm interfacing to keep the shape consistent, and a zipper at the back or a lace up front works best for a secure fit.
Sew the boning channels first, insert the boning, then join the panels, because boning added after the seams are closed is almost impossible to place evenly. A black blazer over this top is the fastest way to make it look deliberate rather than costumey, and the contrast between soft tailoring and stiff twill is what makes the outfit work.
Contrast Patchwork Trousers
Difficulty: Medium. Time: about 2 hours. Measurements: swap panels at least 6 inches wide so the colour block reads clearly; 1/2 inch seam allowance with a flat fell finish.
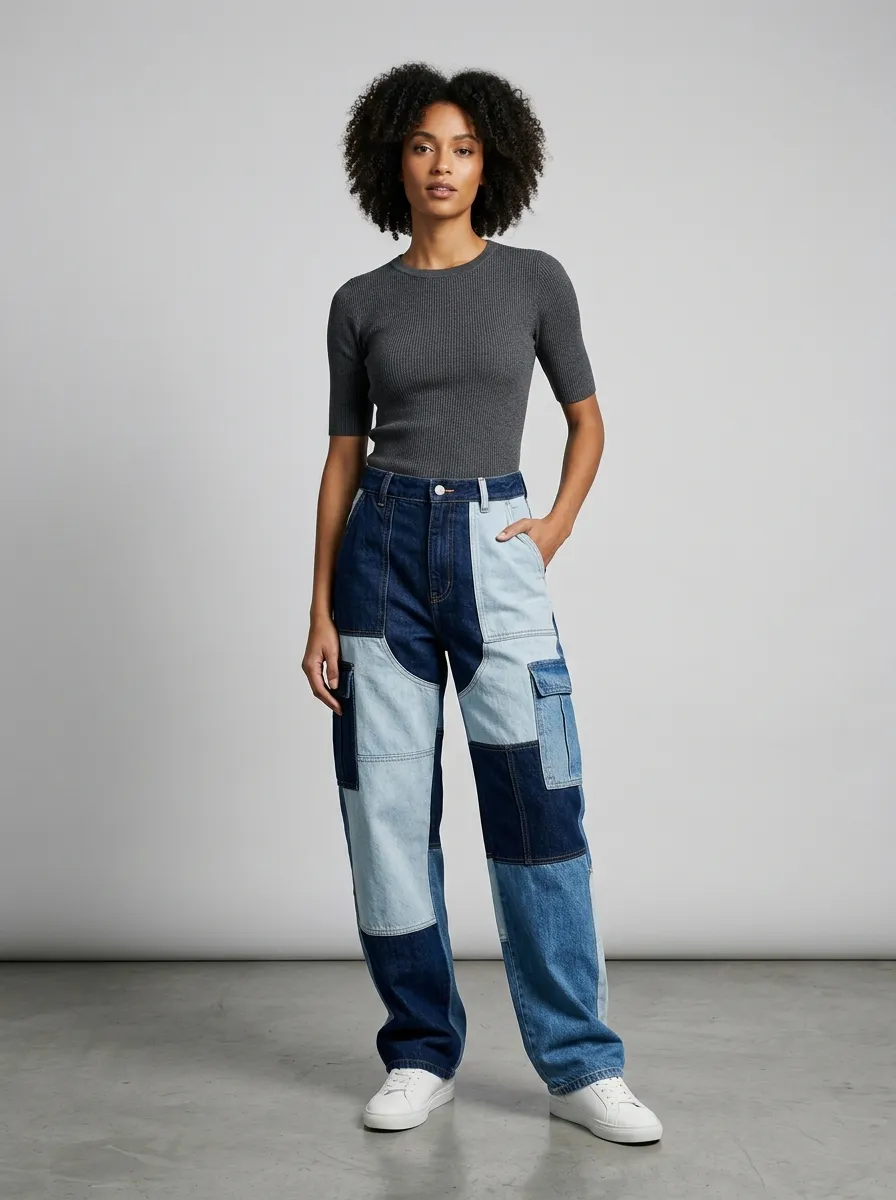
Colour pairing: Keep the rest of the outfit neutral. A dark pair blocked against a lighter pair is already a bold focal point, so plain tops in black, white, or beige let the trousers carry the look.
Combine two different pairs of cargo pants to create a unique patchwork aesthetic. By swapping panels of fabric between a dark pair and a lighter pair, you achieve a trendy colour block look without buying new clothes. This project is excellent for hiding stains or wear on specific areas of the pants.
The limitation is the bulk created by the seams, so use a flat fell seam technique to keep the interior comfortable against your skin: sew the seam, press it to one side, fold the raw edge under, and topstitch it flat. These trousers serve as a bold focal point, so pair them with neutral tops to keep your overall fit grounded and stylish. If you want more no sew upcycling ideas first, the no sew upcycling guide covers patchwork without a machine.
Drawstring Cargo Shorts — A 45-Minute Summer Fix
Difficulty: Easy. Time: about 45 minutes. Measurements: cut 2 inches below the knee, then fold a 1 inch casing at the hem; drawstring cord 6 inches longer than the leg opening on each side.
Care tip: Finish the raw edges with a zig zag stitch before the first wash, or the twill will fray at the cut line within a couple of laundry cycles.
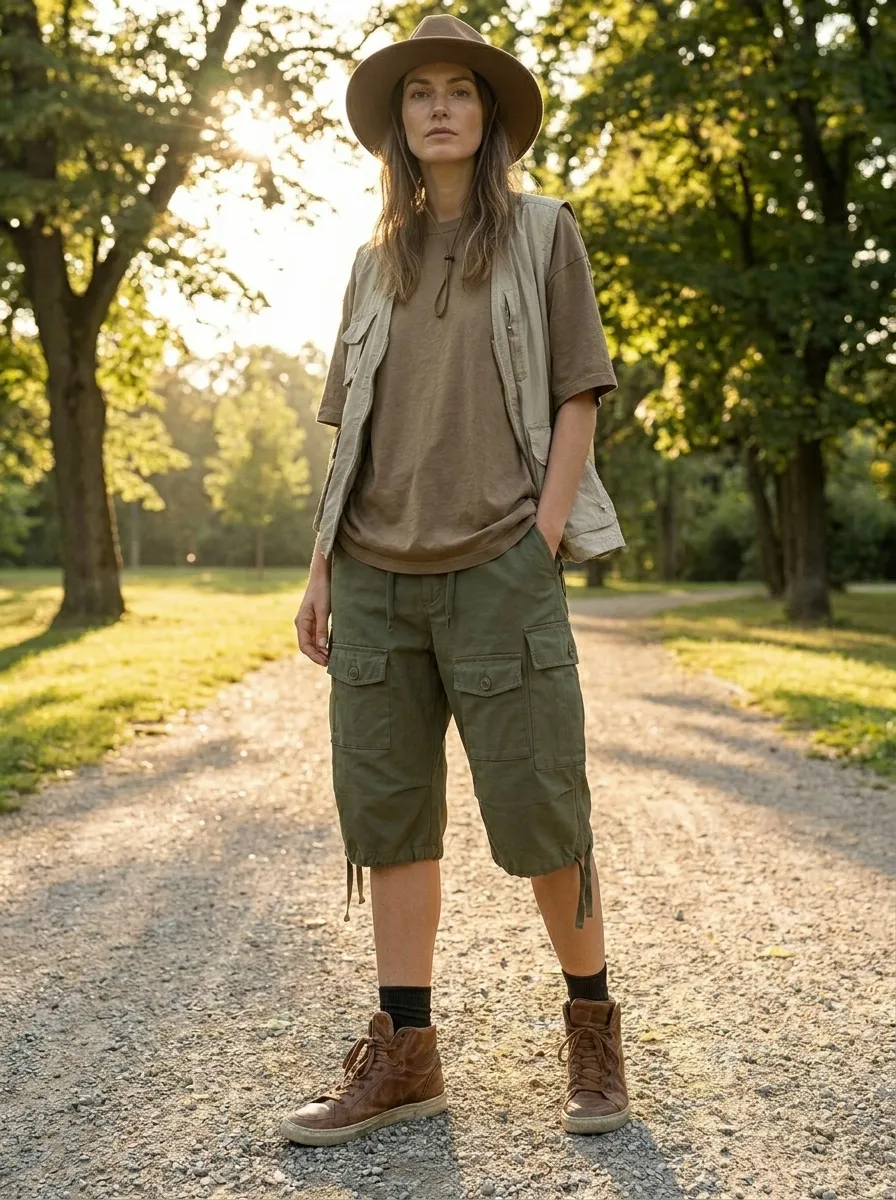
Transform long cargo pants into functional summer shorts by cutting them at the knee and adding a drawstring hem. Mark the cut line while wearing the pants, because the knee sits higher when you are standing than when the pants are laid flat. Fold the raw edge under twice to make a 1 inch casing, sew it down leaving a 1 inch opening, and thread the cord through with a safety pin.
This allows you to adjust the width of the leg opening for a more tailored or relaxed feel depending on your footwear. These shorts are a practical choice for hiking or outdoor events where you need extra pocket space. Pair them with high top sneakers or sturdy sandals to maintain the utility vibe while staying cool in warmer weather.
The Utility Tote Bag
Difficulty: Easy. Time: about 1 hour. Measurements: bag body 14 inches wide by 15 inches tall; handles 22 inches long, sewn with a 1 inch seam allowance; reinforce the handle stitching with a box X.
Fabric note: Twill is heavy, so the finished bag will feel sturdier than a canvas tote of the same size. That weight is the trade-off for a bag that holds its shape when loaded.
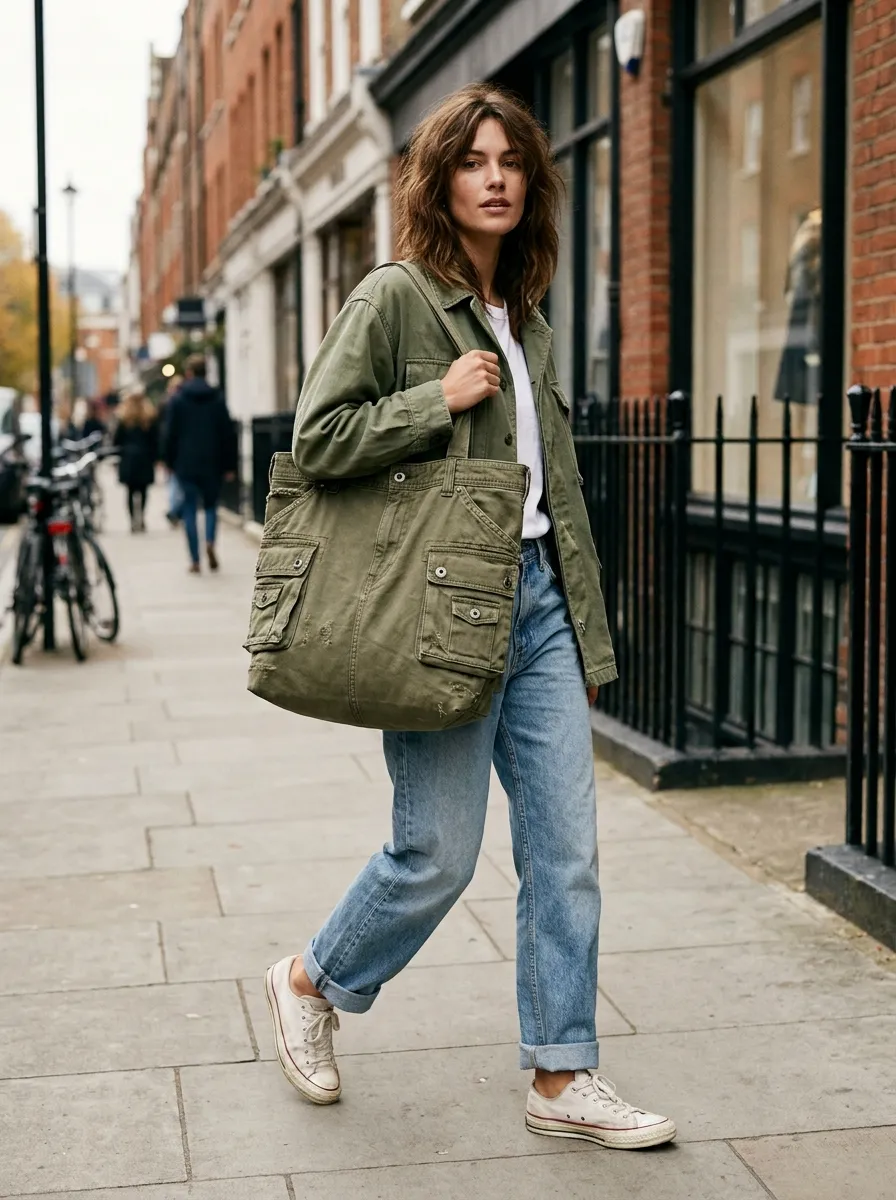
If you are not ready to wear the pants, turn them into a durable utility tote. The legs provide plenty of fabric for the main body, while the existing pockets become strong exterior compartments for your phone, keys, or water bottle. Cut two rectangles from the legs, sew them right sides together with a 1 inch seam allowance, and use the waistband as the top rim for a sturdy opening that holds its shape.
This bag is nearly indestructible and strong for grocery runs or carrying heavy items. The limitation is the weight of the fabric, so keep the handles slightly padded to ensure comfort while carrying heavy loads, and stitch a box X at each handle base, because a straight stitch alone will pull out under weight. This is a functional way to reuse every inch of material.
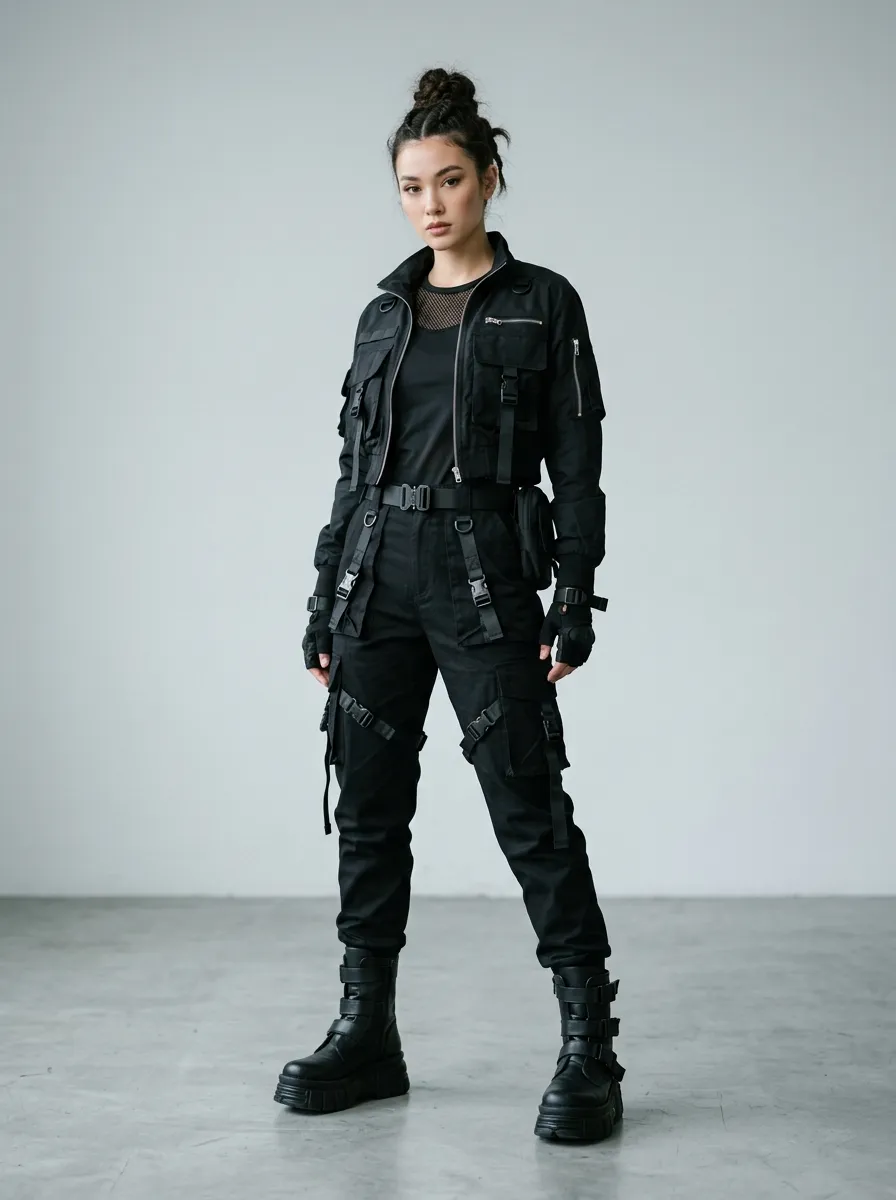
Buckle Strap Accents: Instant Techwear
Difficulty: Easy. Time: about 30 minutes. Measurements: straps 1 inch wide; place buckles on the outer seams, at least 2 inches from the knee so they never press against the joint.
Wear it with: Monochromatic outfits. When the hardware is the main detail, a single-colour base in black, olive, or grey lets the straps and texture do the talking.
Add styling interest to plain cargo pants by sewing on buckle straps salvaged from other items or old bags. Placing these straps across the pockets or around the calves adds a tech wear aesthetic that is very popular. This modification is purely decorative but changes the entire vibe of the garment from basic to edgy.
A practical note is to secure the buckles on the outer seams so they do not interfere with your walking gait, and sew each strap end down with a box X, because a single line of stitching will rip the first time the strap catches on something. This look works exceptionally well with monochromatic outfits, letting the hardware and texture become the main detail of your ensemble, and it pairs naturally with the orange sneakers guide for a full streetwear look.
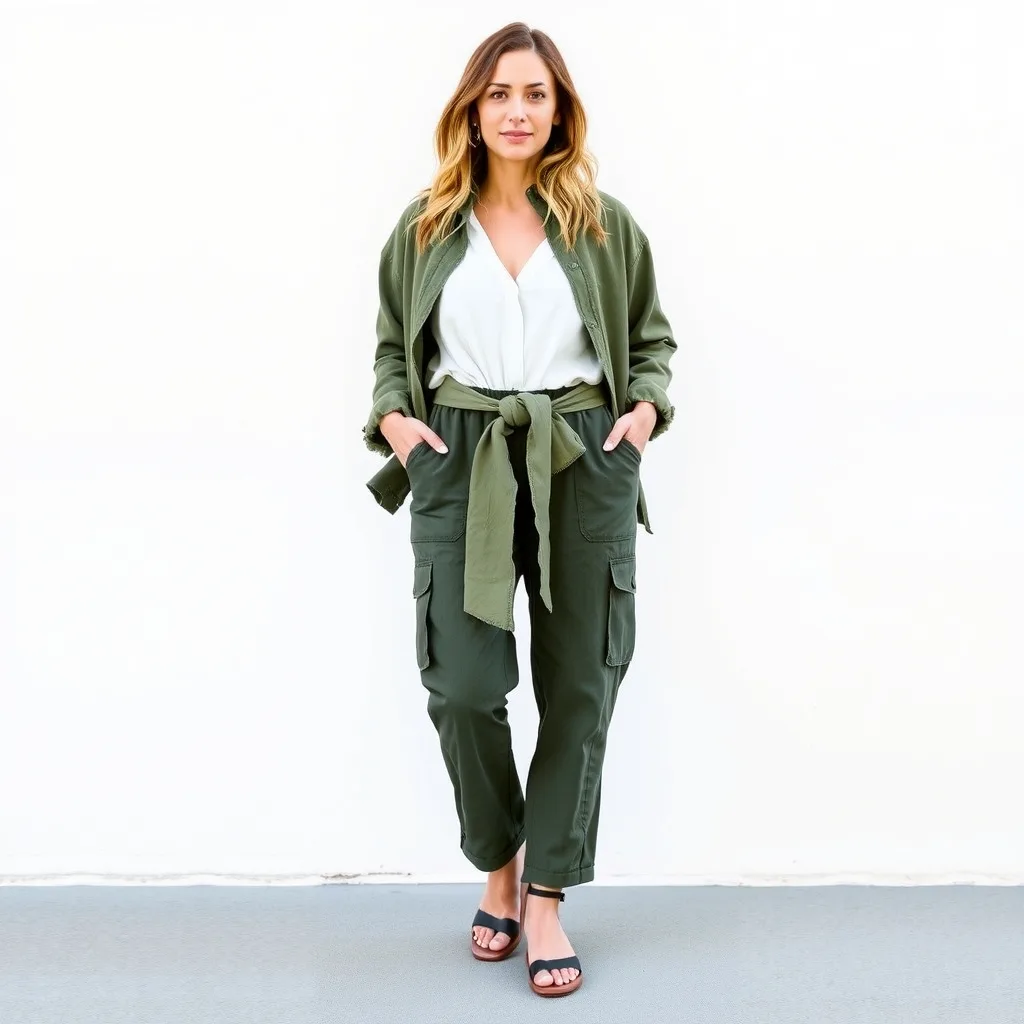
The Sash Tie Waist
Difficulty: Easy. Time: about 30 minutes. Measurements: sash strip 4 inches wide and at least 60 inches long; finish the ends with a 1/4 inch rolled hem.
Fit note: This project suits high waisted cargo styles best. The sash cinches where the waistband already sits, so the paper bag gather falls exactly where it should.
Replace a standard button closure with a fabric sash made from the excess length of the pant legs. Cut a strip 4 inches wide and at least 60 inches long, fold it in half lengthwise, sew the long edge, and turn it right side out. This creates a paper bag waist effect that is both comfortable and flattering. The sash allows for a custom fit every time you wear the pants, which is helpful if your weight fluctuates.
Ensure the fabric strip is long enough to tie a substantial knot or bow, because a sash that barely ties looks like a mistake rather than a design choice. This adds a soft, feminine touch to the otherwise rigid and masculine nature of the utility pockets, creating a balanced and trendy silhouette. The same sash technique works on the painted senior jeans if you want a tied waist there too.
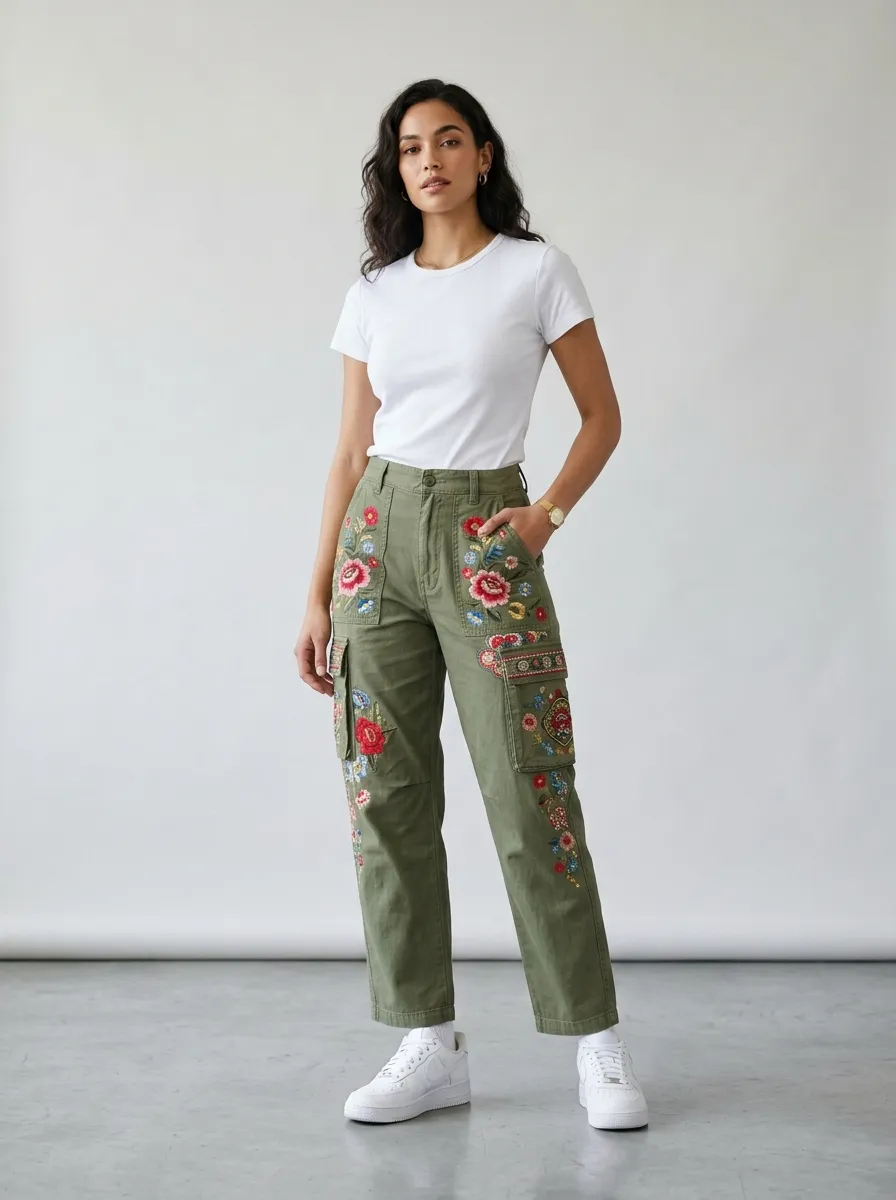
Embroidered Pocket Details — The Personal Touch
Difficulty: Easy. Time: about 2 hours. Measurements: keep motifs inside the pocket flap, at least 1/4 inch from every edge; use 3 strands of embroidery floss, not all 6, so the stitching stays flat.
Care tip: Turn the pants inside out before washing, and wash cold. Embroidery floss holds its colour far longer in cold water, and the pocket flaps stay flat instead of curling at the edges.
Use colourful thread or patches to add personality to the flaps of your cargo pockets. Embroidery turns a mass produced item into a one of a kind piece that reflects your personal style. Whether you choose simple geometric patterns or bold graphic motifs, the pockets become the highlight of the fit. This project requires patience but is a low cost way to refresh an old pair of pants.
Work inside an embroidery hoop so the twill stays taut, and avoid overworking the fabric around the seams to prevent tearing. Use 3 strands of floss rather than all 6, because 6 strands sit too proud on a pocket flap and catch on everything. This style pairs beautifully with simple basics, allowing your custom work to take centre stage in your outfit, and the same embroidery approach works on wide leg jeans if you want to extend the look.
Common Questions About Upcycling Cargo Pants
Which cargo pant fabrics are easiest to cut and re-sew?
Heavy cotton twill or canvas is the easiest starting point, because both hold a crease and take a topstitch without puckering. They are sturdy enough for a home machine needle and heavy thread, so your seams last. Lightweight synthetic blends are the ones to skip: they pucker under the presser foot and rarely hold a structured shape after cutting.
I have never sewn before. Which project should I try first?
Start with the drawstring shorts or the utility tote. Both use only straight stitches, and the tote in particular forgives a wobbly seam line because the waistband rim hides it. Sew slowly, keep your lines straight, and press each seam before moving on. Singer publishes free beginner guides for straight stitching and seam finishing that cover everything in projects 1, 6, and 7.
How do I wash upcycled cargo pants without ruining the new shape?
Wash in cold water and hang to dry. Heat is what shrinks twill and collapses a new taper or pleat, so skip the dryer entirely. If you added hardware like buckles or straps, turn the garment inside out before washing to protect both your machine and the trim.
What shoes work best with upcycled cargo pants?
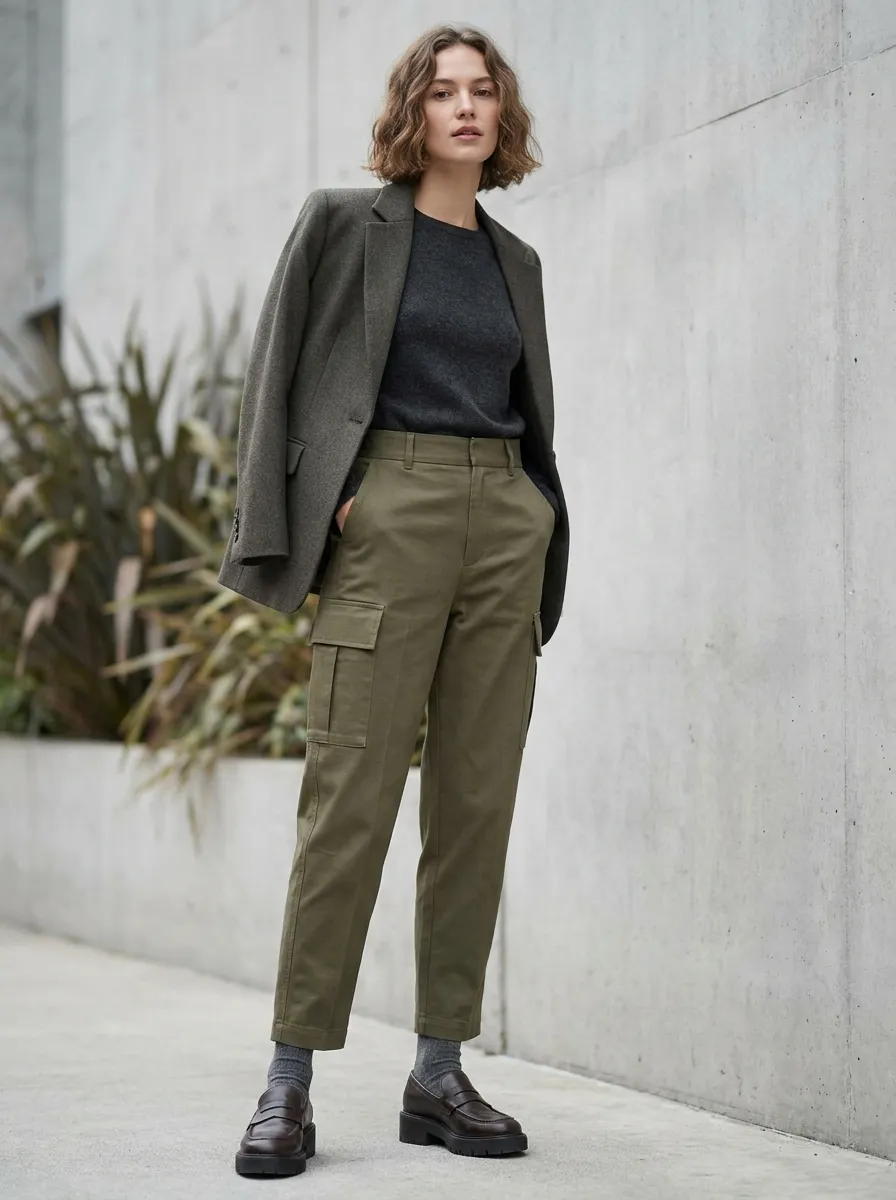
Match the weight of the shoe to the volume of the pants. Chunky loafers, platform boots, and high top sneakers balance the bulk of a wide cargo leg. If you tapered the legs in project 1, switch to something sleeker: leather boots or slim loafers create a clean contrast against the narrower ankle.
How do I check the fit before I commit to sewing?
Pin the garment while you are wearing it, then walk around your home in it. Sit down, climb stairs, and bend your knees. Twill does not stretch, so a fit that feels fine standing still can pull across the hips or lock at the knee the moment you move. If anything tugs while pinned, let it out before you sew.
What seam allowance works on cargo twill, and why does it matter?
Use a 5/8 inch seam allowance for garment seams and a 1/2 inch allowance for patchwork, with a flat fell finish where two layers overlap. A 1/4 inch allowance is too narrow for twill, because the fabric frays and the seam will pull apart under stress. Press every seam open before you sew the next one, since pressed seams are what make a home sewn garment look store bought.
Before You Cut: A Quick Checklist
- Pin the garment while wearing it, and walk, sit, and climb stairs before sewing.
- Match your thread weight to the fabric: heavy duty polyester thread, not quilting cotton.
- Press every seam open before the next step; pressed seams are what make home sewing look store bought.
- Start with project 1, the tapered ankle crop. It teaches the two skills every other project needs: measuring on the body and pressing a seam before you trust it.
- Wash cold and hang dry, every time, so the new shape holds.
Verdict: one pair of cargo pants holds ten wearable pieces, and the hardest part is the first cut. Start easy, measure on the body, and the rest follows.