5 Bleach Shirt & Altered Clothing Ideas to Upcycle Your Style
How to use this guide
Choose ideas based on the materials, time, skill level, and finish you can realistically manage. For any dye, bleach, paint, or alteration project, test on a spare piece first and follow the product safety instructions.
Open the drawer where the clothes you never wear live. There's the black shirt that went grey in the wash, the jeans with a blown-out knee, the flannel that's too big to wear as-is and too good to throw away. Most people see a pile of almosts. But a thrifted tee, a pair of jeans with a blown-out knee is also raw material — and bleach is the cheapest way to start turning it into something you'd actually reach for.
Bleaching and altering clothes is the most accessible form of that: the supplies cost almost nothing, the learning curve is forgiving, and the results are genuinely one of one. The catch is the gap between "bleach art looks cool online" and a finished piece you want to wear. That gap is technique. Bleach is chemistry, not magic: it reacts differently to every fiber, every dye lot, every dilution. The five projects below are built around that reality — each one includes the materials, the method, and the honest limitations, so your first attempt has a real chance of ending up in your rotation instead of the rag bin.
One safety note before anything else: always work outdoors or in a well-ventilated space, wear rubber gloves and eye protection, never mix bleach with other cleaning chemicals (especially ammonia or vinegar — the fumes are dangerous), and keep a large bucket of clean water nearby to rinse pieces the moment they reach the shade you want. Bleach keeps working until it's rinsed out.
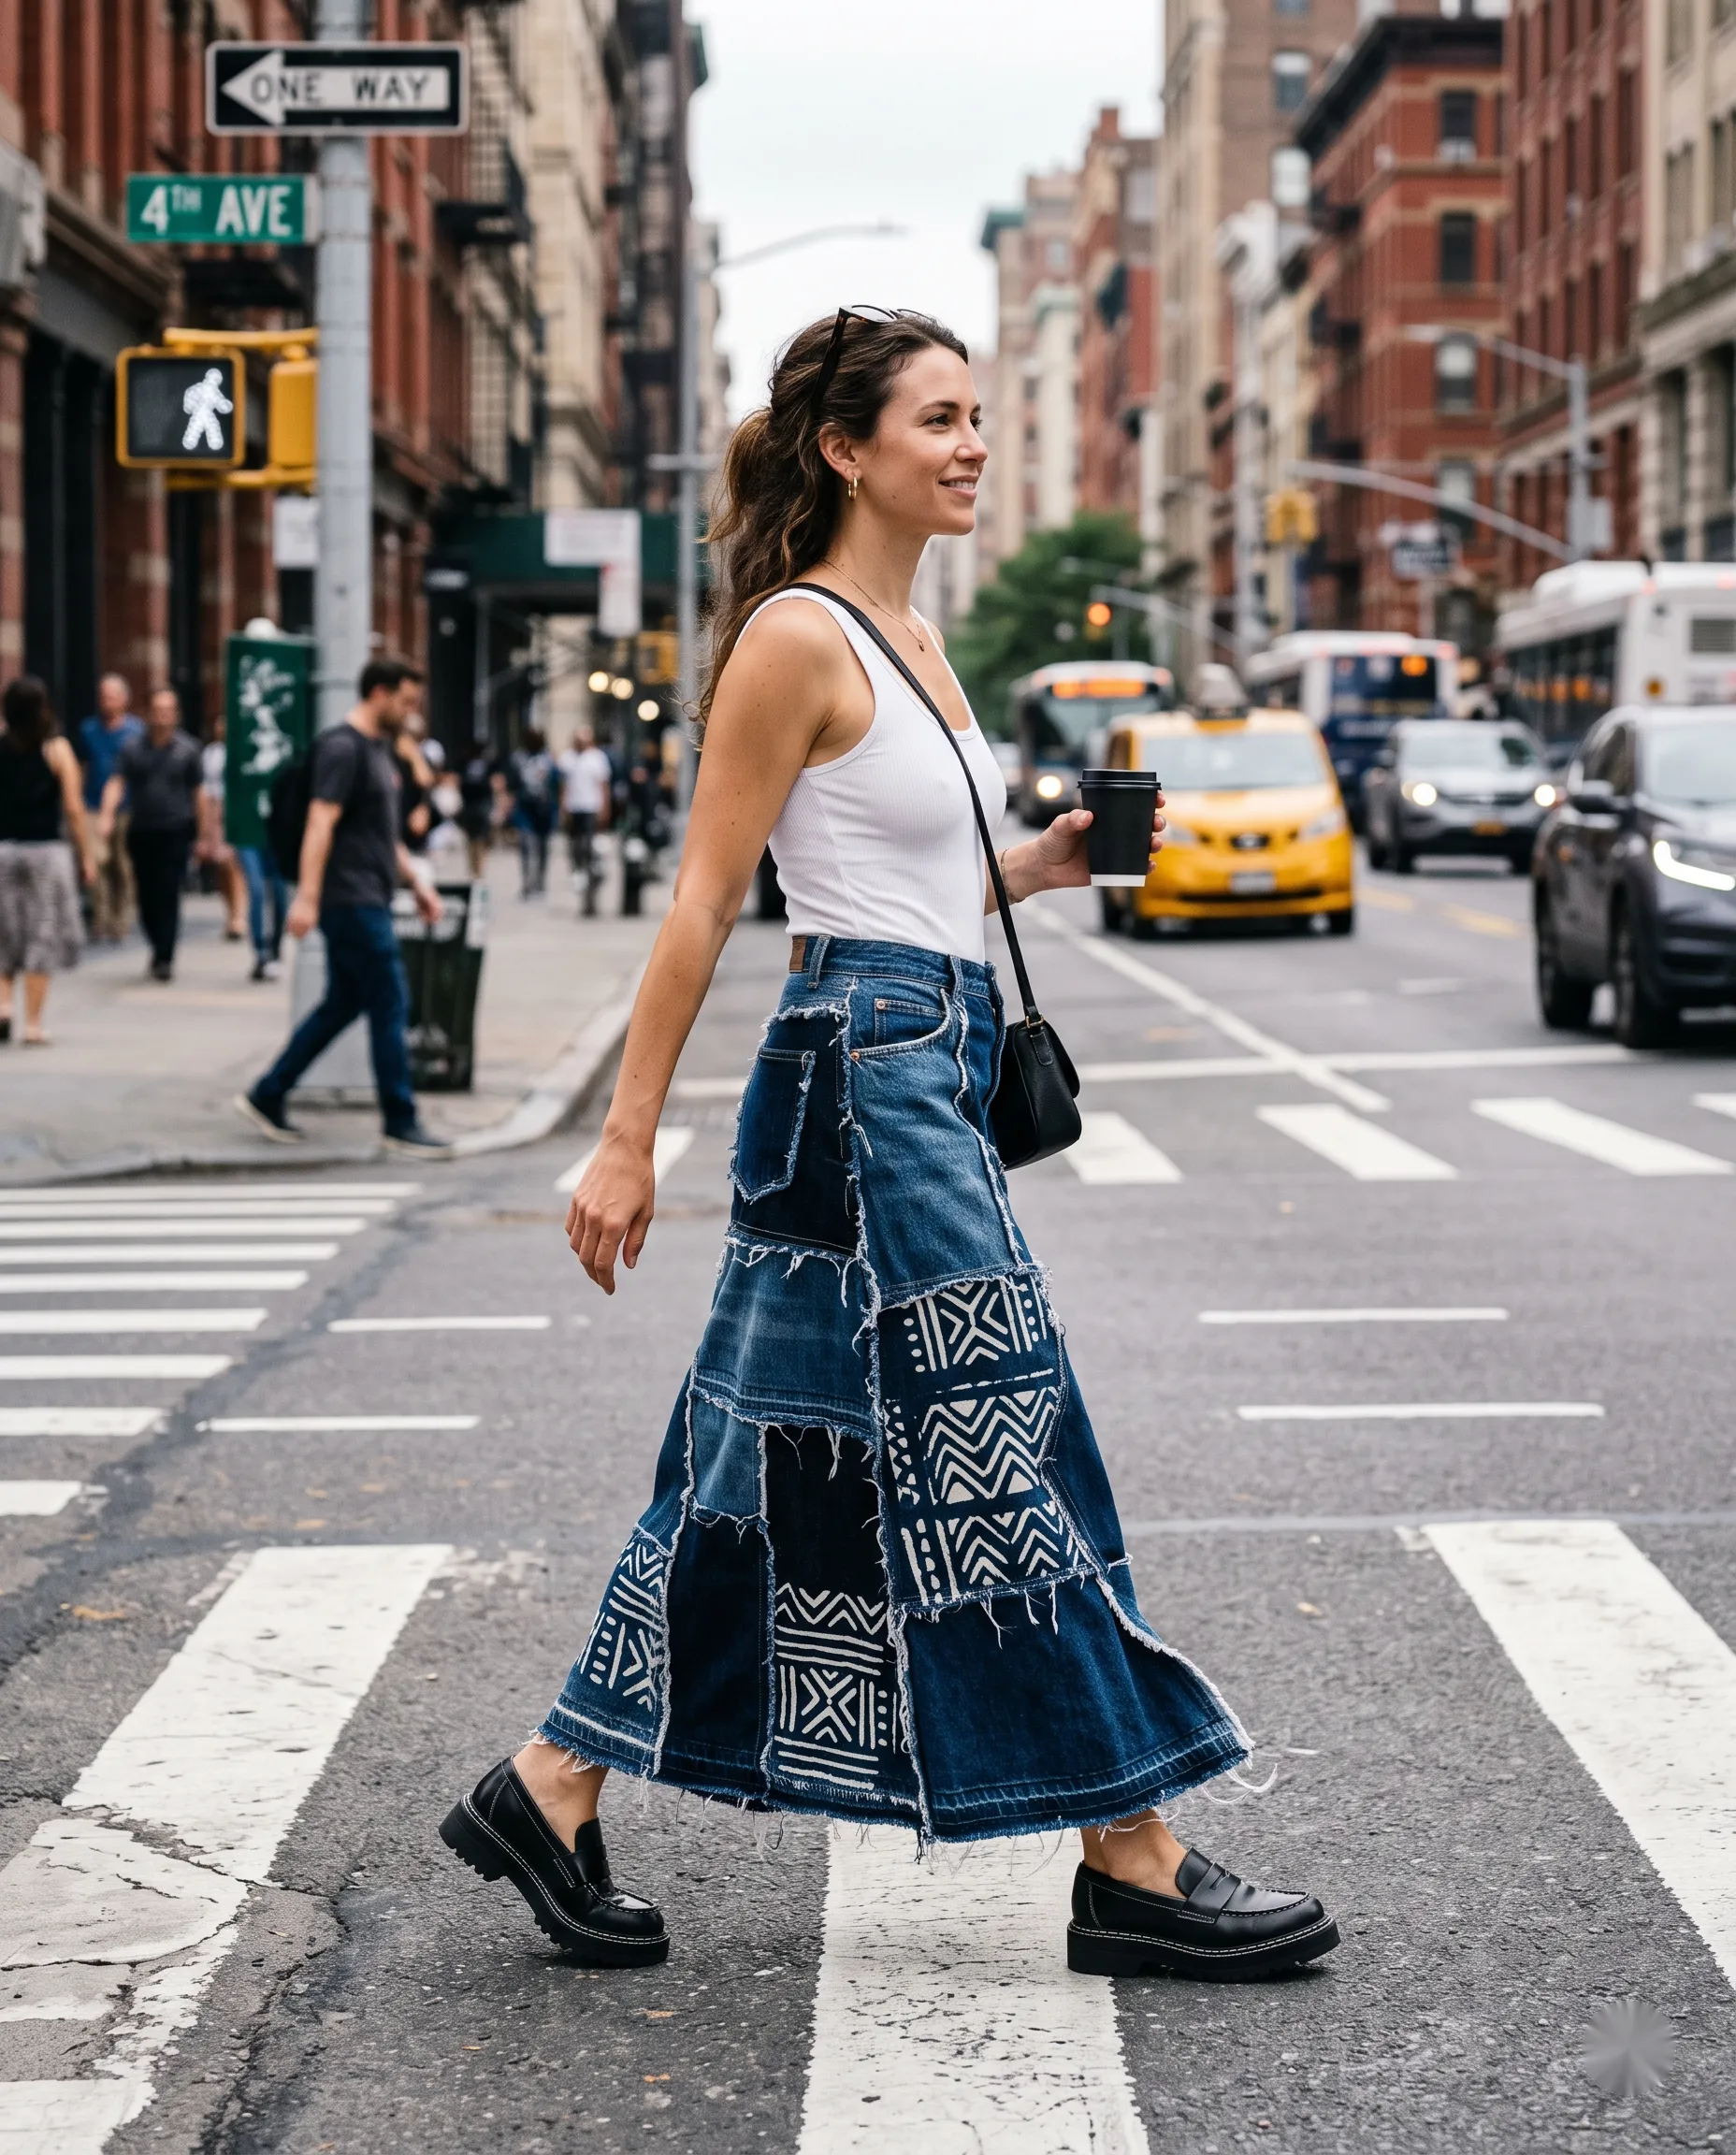
Bleach-Painted Patchwork Denim Maxi Skirt
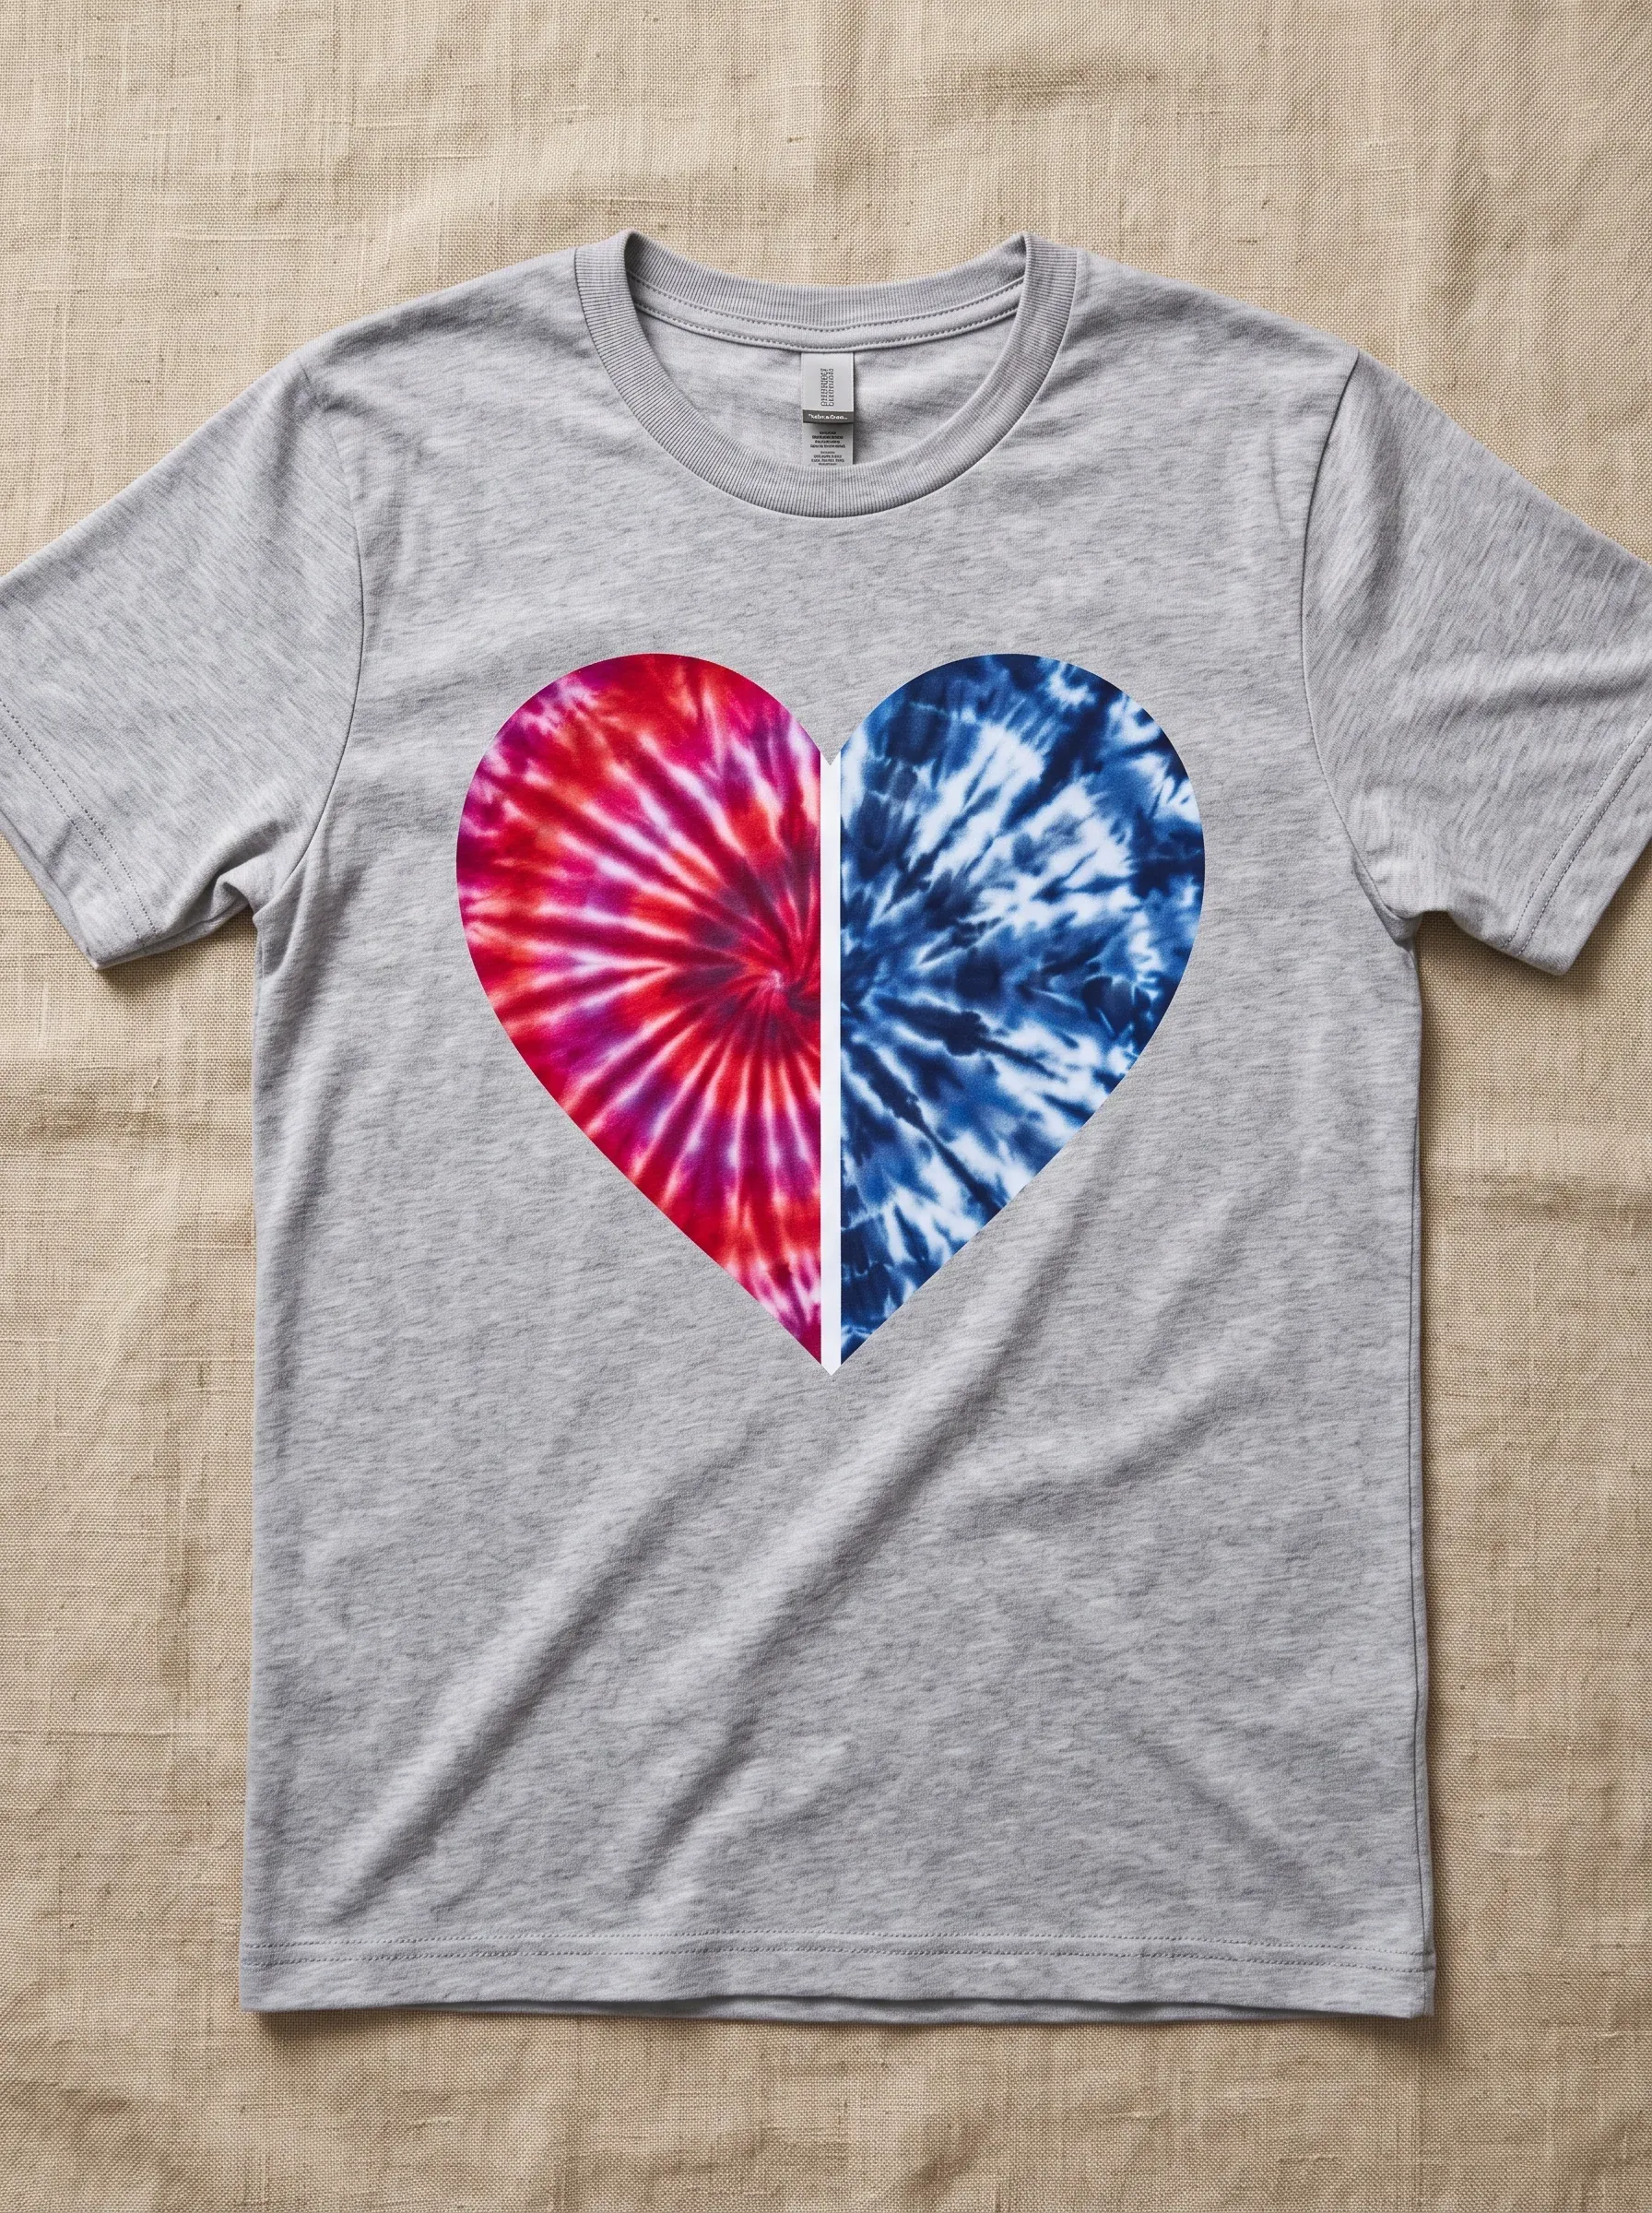
The idea: leg panels cut from two or three pairs of thrifted jeans, sewn into a long skirt, then hand-painted with bleach in geometric patterns. The technique behind all of this is tie dye, the resist dyeing method that turns plain cloth into pattern.
Why denim forgives mistakes: denim is the most forgiving bleach canvas there is. Indigo dye lifts predictably — a 1:1 bleach-to-water mix gives you golden-tan discharge in about 10–15 minutes on medium-wash denim — and the twill weave hides uneven application better than any flat fabric. Cutting the jeans into panels first (rather than bleaching whole jeans) means you're working on flat, manageable pieces, and any panel that goes wrong can be swapped for another.
How to make it: deconstruct the jeans along the existing seams with a seam ripper (faster and cleaner than cutting through seams). Arrange panels into a skirt shape — an A-line is the most forgiving silhouette — and sew with a denim needle and a longer stitch length. For the bleach painting, use a 1:1 dilution in a squeeze bottle for line work; the bleach will wick slightly into the twill, so draw your lines thinner than you want them to end up. Rinse thoroughly, then wash with a cup of white vinegar in the rinse cycle to neutralize residual bleach.
Wear it with: the golden-tan discharge pairs naturally with cream, white, and olive, so a plain white tank or a fitted ribbed top keeps the skirt as the statement piece. Flat sandals or ankle boots work with the long line; the A-line skims the hip rather than clinging, which makes it easy to wear with a tucked-in top.
Watch out for: heavyweight or black denim discharges to unpredictable tones (black denim often goes grey-green rather than gold). Frayed edges will continue to fray — finish them with a zigzag stitch if you want them to survive the wash. And this is a multi-hour project; the sewing alone is an afternoon.
A Halter Top Held Together by Safety Pins

The idea: two old shirts (here, a navy fleece and a pale yellow collared shirt) cut down and joined with visible safety pins into a halter top, with the pins as a deliberate design detail.
The pins are the fastening system: safety pins are doing genuine structural work, not just decoration — they're the entire fastening system. That means no sewing machine, no hemming, no finishing. The trick is pin placement: pins should run through at least two layers of fabric at stress points (the neckline join, the side seams), spaced no more than an inch apart, or the top will gap when you move. Use large kilt pins (2–3 inches) rather than tiny shirt pins; they're stronger and they read as intentional hardware.
How to build it: lay the two shirts flat and decide your halter shape — typically one shirt provides the front panel, the other the back and ties. Cut with sharp fabric scissors (dull scissors chew fleece). Overlap the panels by at least an inch at every join, pin from the inside so the pin backs don't show, and test the fit before finalizing placement. For the visible front pins, align them in a straight vertical line — the orderliness is what separates "design detail" from "held together."
Fit notes: fleece stretches, so a fleece-panel halter will loosen over a few hours of wear — plan for it or interface the fleece with iron-on stabilizer. Safety pins can and do pop open under tension; this is a low-activity top, not a dancing top. Wash it pinned inside a mesh bag, or unpin it entirely before washing. Pair it with high-waisted jeans or denim shorts so the halter's short line sits cleanly against a higher waistband.
A Bleach-Washed Corset Belt Over Flannel

The idea: a plain canvas or cotton corset belt, bleach-washed for a mottled cream-and-gold finish, worn over a thrifted flannel shirt to add structure.
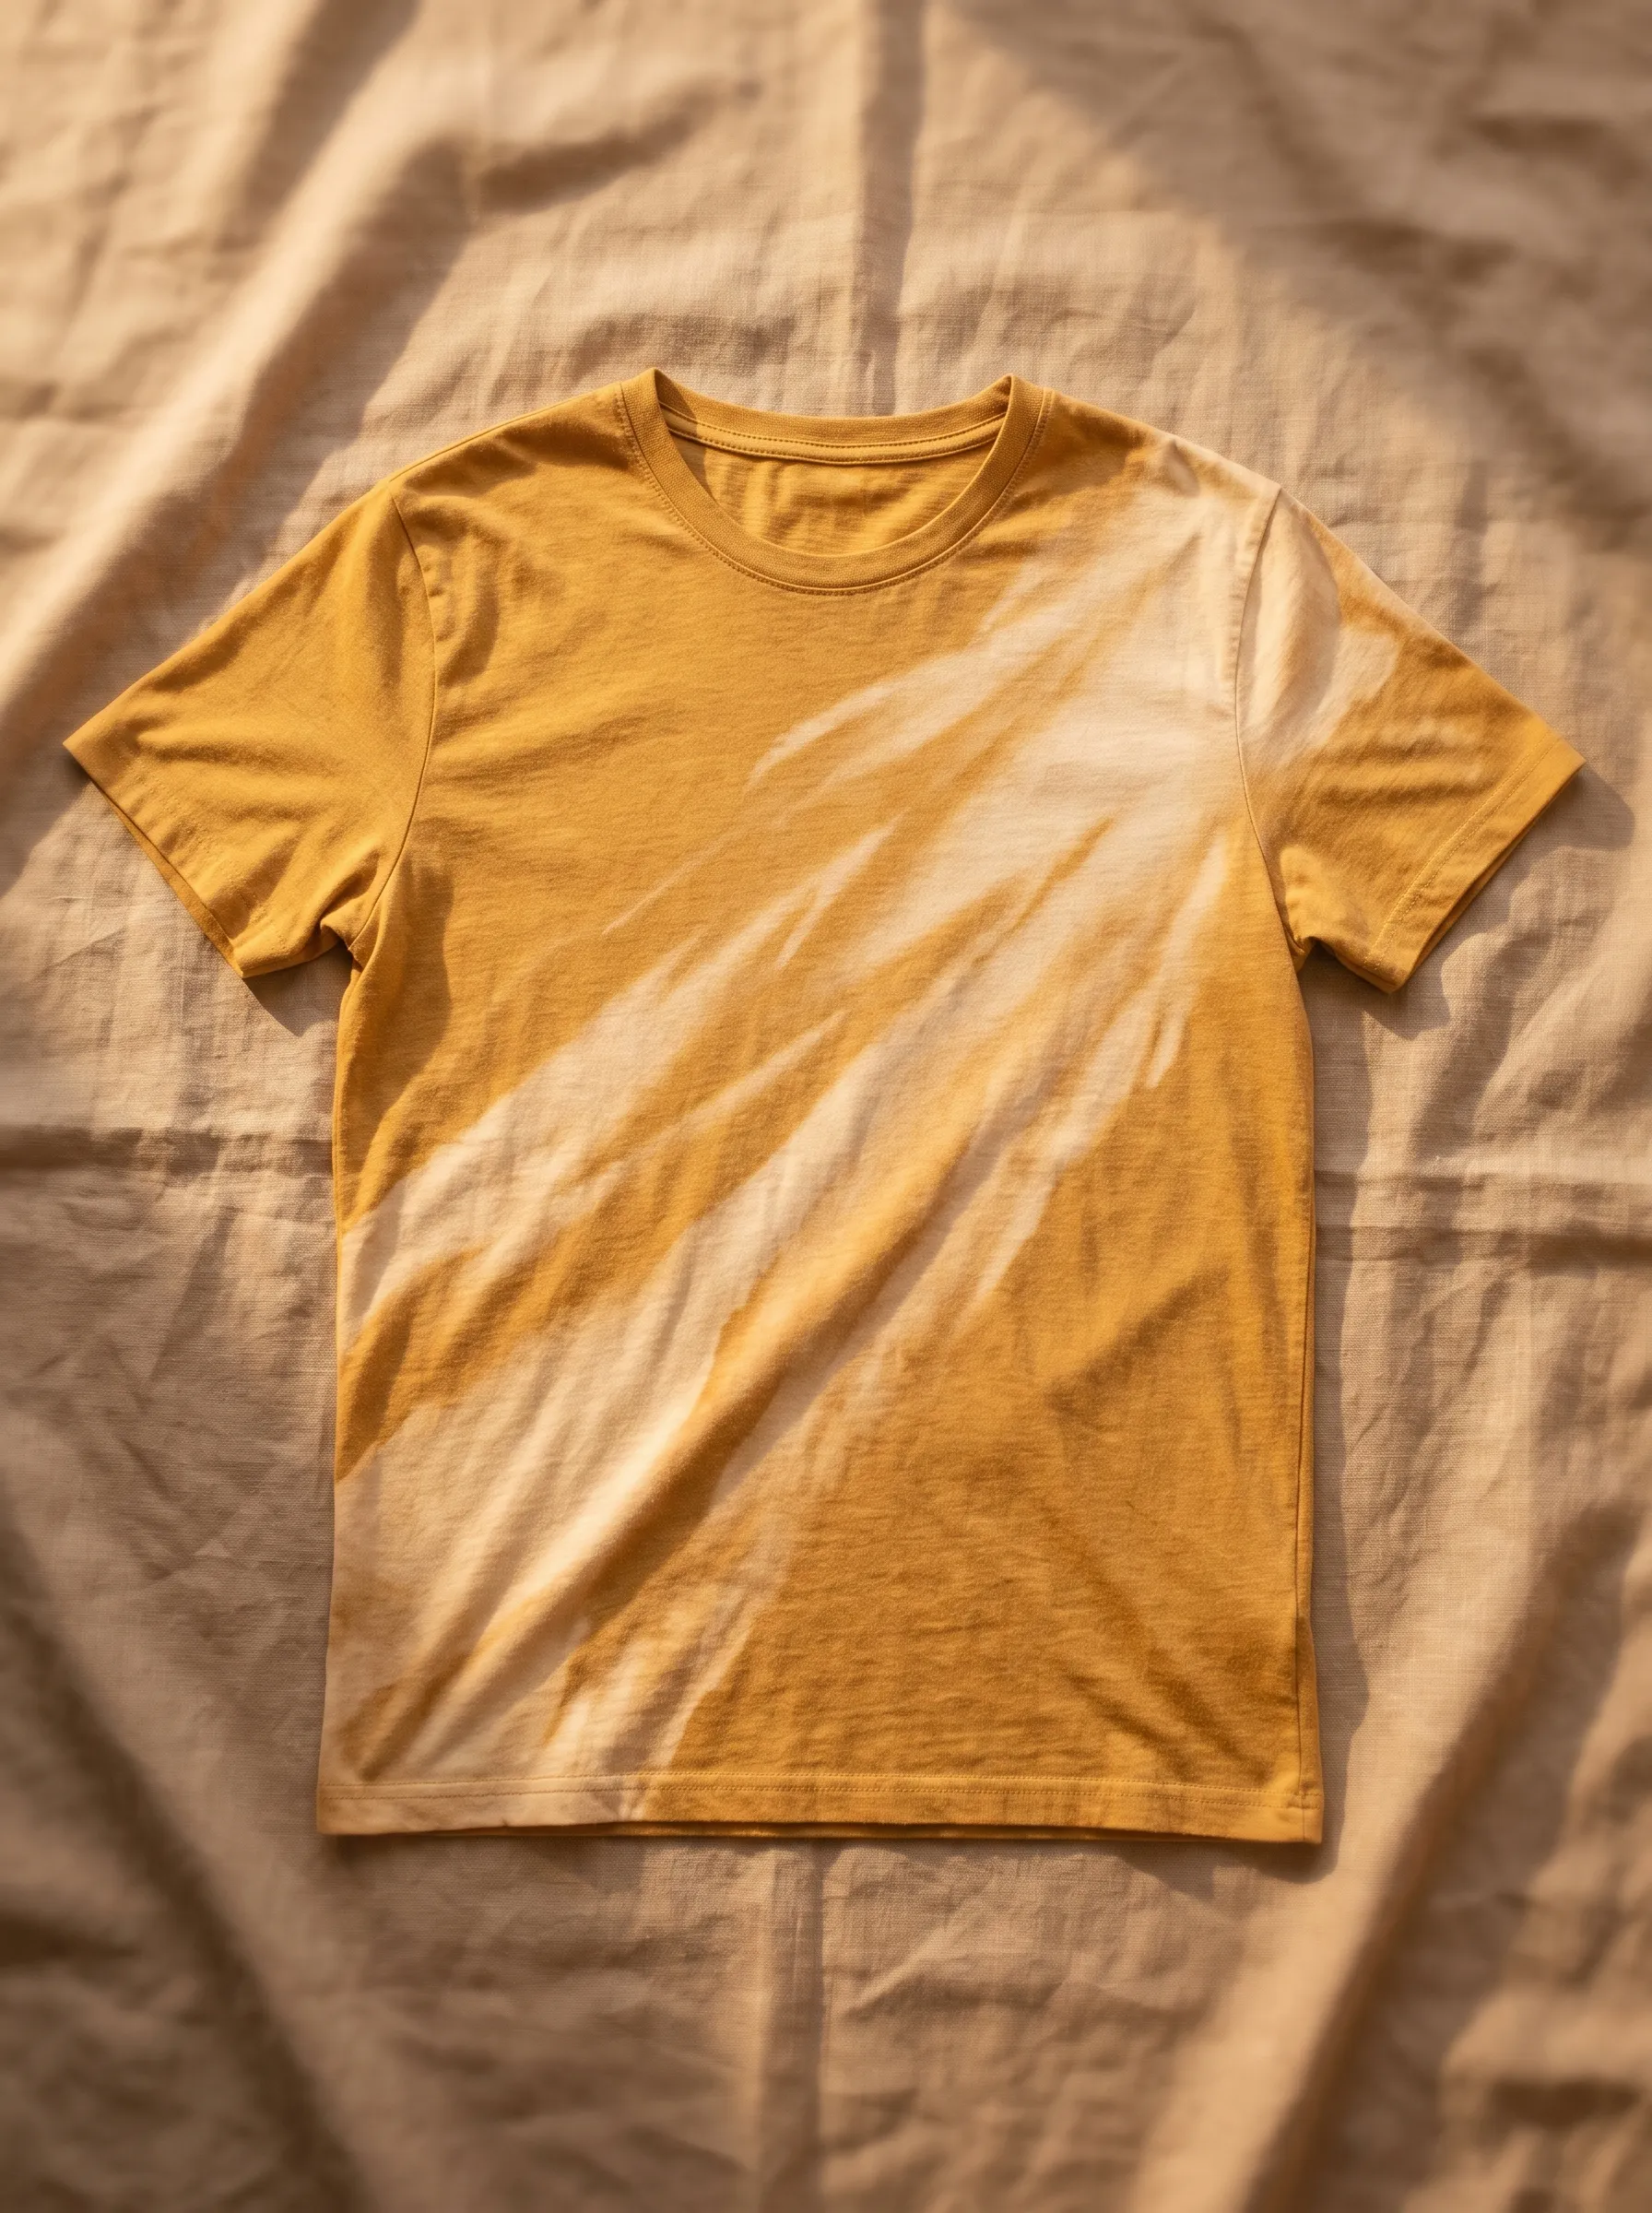
Why the contrast works: this is really two projects in one, and the bleach wash is the easier half. A corset belt in undyed canvas or natural cotton takes bleach beautifully — full-strength bleach applied with a sponge gives an all-over sun-faded effect in 5–10 minutes, while a 1:3 dilution sprayed unevenly creates the mottled, vintage look. The reason it works aesthetically is contrast: the structured, cinched belt against the soft, oversized flannel creates the fitted-vs-relaxed tension that makes the whole outfit read as styled.
How to bleach the belt: if you're starting from a plain canvas belt, remove any metal hardware first (bleach corrodes it). Sponge or spray your dilution, watching closely — canvas lightens fast. Rinse the moment you like the tone; you can always do a second pass, but you can't un-bleach. Let it dry fully before reattaching grommets or lacing. Worn over flannel, position the belt at the natural waist, not the hips — that's what creates the silhouette.
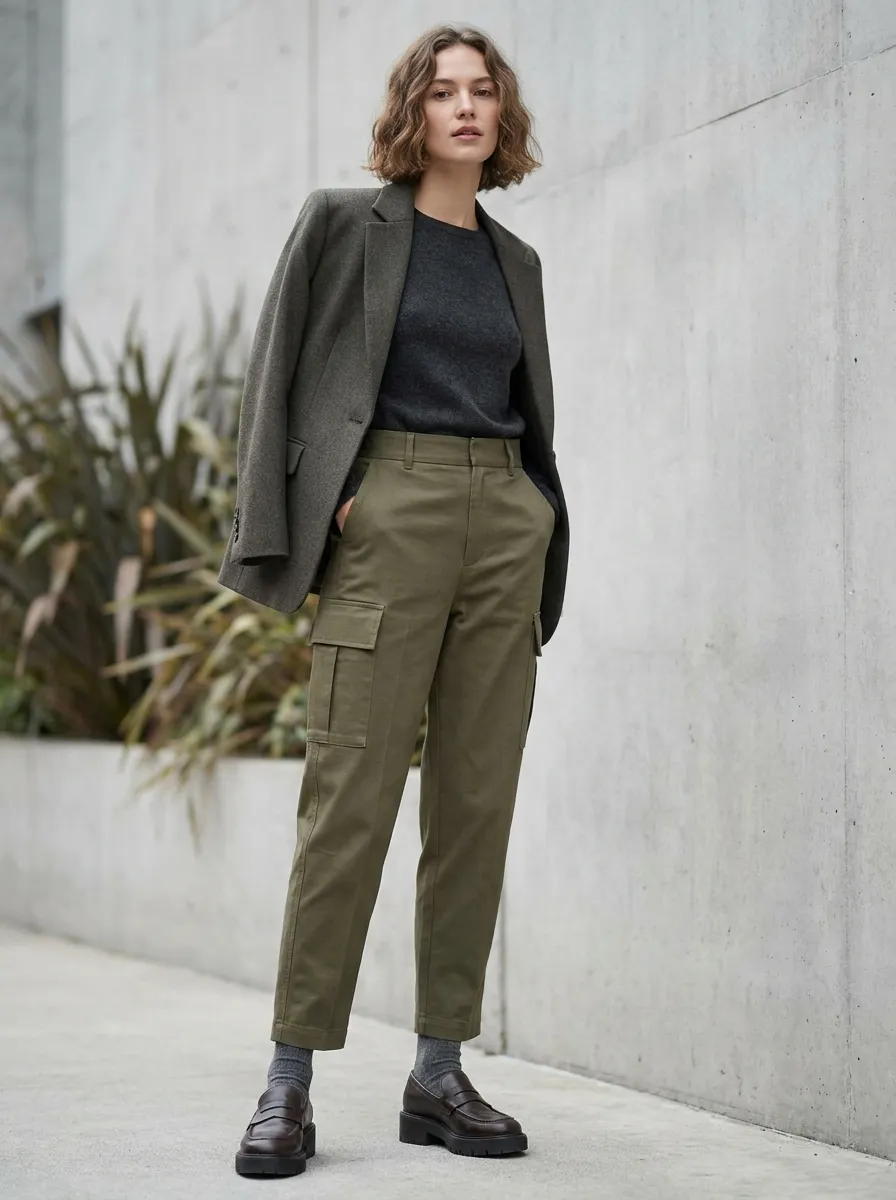
Fabric and fit notes: the mottled cream-and-gold belt sits best over red, black, or charcoal flannel, and it also works over plain cream or olive knits when you want the belt to be the only pattern in the outfit. Bleach weakens cotton fibers measurably — a heavily bleached belt won't have the lifespan of an unbleached one, so treat it as a fashion piece, not daily armor. Brass grommets must go back on after bleaching, not before. And the flannel underneath should be 100% cotton flannel; synthetic-blend flannels pill and look cheap next to the belt's texture.
Botanical Prints From Real Leaves

The idea: a dark cotton tee printed with real leaves and ferns — the foliage acts as a resist, and diluted bleach sprayed around it leaves pale botanical silhouettes.
How the resist works: wherever the leaf presses tightly against the fabric, bleach can't reach, so the original dark color remains as a "shadow" of the leaf. Dark brown, black, or forest-green 100% cotton tees give the highest contrast. Ferns and flat-leafed plants work best because they press flush; thick or curled leaves let bleach seep underneath and blur the print.
How to print it: wash and dry the tee first (sizing and finishes resist bleach unevenly). Lay it flat on cardboard, arrange your foliage, and cover with a sheet of plastic wrap pressed down firmly — this is the step most people skip, and it's why their prints come out blurry. Spray a 1:2 bleach-to-water mix from 8–10 inches away in light passes; heavy spraying soaks under the leaves. Wait 5–8 minutes, checking once. Rinse cold, remove the leaves, then wash with vinegar in the rinse.
Care tip: no two prints are ever identical — that's the appeal, but don't promise yourself a specific result. The print fades gradually with washing; expect it to soften over 10–15 washes, so wash cold, inside out, and as rarely as the tee allows. Crop the tee before bleaching, not after — cutting after printing risks slicing through your best leaf. Style it with high-waisted jeans or linen trousers; the pale leaf print reads best against dark bottoms.
Acid-Bleached Jacket With a Safety-Pin Spine

The idea: a black denim jacket given an all-over acid-bleach treatment for mottled rust and amber tones, with a vertical chevron of safety pins down the center back.
Why black denim is the wild card: black denim doesn't discharge to white or gold like indigo denim; it goes through rust, amber, and grey-green stages depending on the dye formulation. That unpredictability is the entire aesthetic here: you're not aiming for a controlled pattern, you're accelerating the jacket toward a worn, storm-cloud finish. The safety-pin spine then imposes order on the chaos — a sharp, deliberate geometric line down the back that says the destruction was a choice.
How to do it: work the jacket inside-out first on a test area (inside hem) to see what tones your dye lot produces. For the mottled effect, twist and rubber-band sections of the jacket (a loose scrunch, not tight tie-dye knots), then sponge on a 1:1 dilution. Leave 15–25 minutes, checking every 5 — black denim keeps developing longer than you'd expect. Rinse thoroughly, vinegar wash, dry. For the spine: mark a straight vertical line down the center back with tailor's chalk, then place large safety pins in a chevron (each pin angled ~30 degrees, points meeting at the line), spaced evenly.
Wear it with: keep the rest of the outfit plain so the jacket stays the statement — a white or black tee and dark jeans work best, and it's better not to match the denim wash, since a second denim piece competes with the mottled finish.
The trade-off: this is the harshest bleach treatment in the guide, and it costs the jacket real lifespan — expect the fabric to feel thinner and wear faster at stress points. Never do this on a jacket with sentimental value until you've tested the dye behavior. The pins add weight to the back panel; on a lightweight denim jacket the back can sag — a heavier trucker-style jacket carries them better.
Four Rules Bleach Always Follows
Dilution is the control dial
Full-strength bleach is for dramatic, fast discharge; 1:1 bleach-to-water is the workhorse for most projects; 1:3 gives subtle sun-faded effects. Weaker dilutions also buy you time — the number one beginner mistake is bleach working faster than expected, and dilution is how you slow it down enough to stay in control. For more ways to give old clothes a second life, the upcycling guide covers the basics from sorting to finishing.
Fiber content decides everything
Cotton, denim, linen, and rayon discharge predictably. Polyester and most synthetics resist bleach or discolor unevenly — always check the label, and when in doubt, test a hidden spot. A "cotton-feel" tee that's actually 60% polyester will give you a patchy disappointment.
Stop the reaction on purpose
Bleach doesn't stop working when you like the result — it stops when you rinse it out. Keep a bucket of clean water and a hose or faucet within arm's reach, and rinse the second you're happy. A vinegar rinse afterward helps neutralize residual bleach and softens the fabric.
Write down your ratios
The difference between a project you can repeat and a happy accident is a notebook. Bleach-to-water ratio, fabric type, exposure time, ambient temperature — write it down. The second attempt at a favorite result goes twice as fast when you're not guessing.
Upcycling Questions, Answered
Which of these five projects should I try first?
The botanical leaf tee. It needs no sewing, the materials are one dark tee and whatever leaves you can pick, and a blurry result still looks like a print. Save the patchwork maxi skirt for later — it's the only project here that needs a sewing machine and an afternoon. The corset belt is the next-easiest step up if you want a second quick win.
Can I bleach a black denim jacket without ruining it?
Yes, but only with a test patch first. Black denim discharges unpredictably — rust, amber, or grey-green depending on the dye lot — so test the inside hem before touching the outside. This is also the harshest bleach treatment in the guide, so expect the fabric to feel thinner afterward, and don't start with a jacket that has sentimental value.
Do I need a sewing machine for these projects?
Only for the patchwork maxi skirt, which is a real sewing project. The halter top is held together by safety pins, and the other three projects are bleach-only — the belt, the leaf tee, and the jacket need no stitching at all. If you can borrow a machine for one afternoon, the skirt is very doable; if not, start with the bleach-only projects.
How do I keep a bleached piece from fading in the wash?
Wash cold, inside out, and as rarely as you can — and skip the dryer. The vinegar rinse after bleaching neutralizes residual bleach, which helps, but every wash softens the effect a little; a leaf print will noticeably fade over 10–15 washes. Treat bleached pieces as fashion with a lifespan rather than everyday basics.
What if my fabric is a cotton-polyester blend?
Test a hidden spot before committing. Natural fibers — cotton, denim, linen, rayon — discharge evenly and predictably, but polyester resists bleach or discolors in blotchy patches, so a blend can give you a patchy result even when the label feels like cotton. If the test spot looks uneven, pick a different piece or a different project.
Before You Pick Up the Bleach: A Checklist
- Test a hidden spot first — a hem, an inside seam, a swatch from a thrifted twin.
- Check the label: cotton, denim, linen, or rayon. Blends and synthetics get a test patch, not a full treatment.
- Work outdoors or with real ventilation, gloves on, eye protection on.
- Keep a bucket of clean water within arm's reach, and never mix bleach with ammonia or vinegar.
- Write down your ratio, fabric, and time before you start, so the second attempt isn't a guess.
The best upcycled pieces in anyone's closet started as experiments that happened to work. Test first, and the second project will already be twice as good as the first.