Upcycling Shoes at Home: 15 Pro Tips for Old Sneakers

How to use this guide
Choose ideas based on the materials, time, skill level, and finish you can realistically manage. For any dye, bleach, paint, or alteration project, test on a spare piece first and follow the product safety instructions.
What do you do with a pair of sneakers that still fits fine but looks tired? The canvas has faded, the white soles have yellowed, and the color no longer matches anything in the closet. Throwing them out is the easy answer, but it is rarely the best one. Most worn sneakers can be dyed, painted, patched, or retrimmed at home with supplies that cost less than a replacement pair, and the fifteen projects below run from a ten minute lace swap to a full leather repaint.
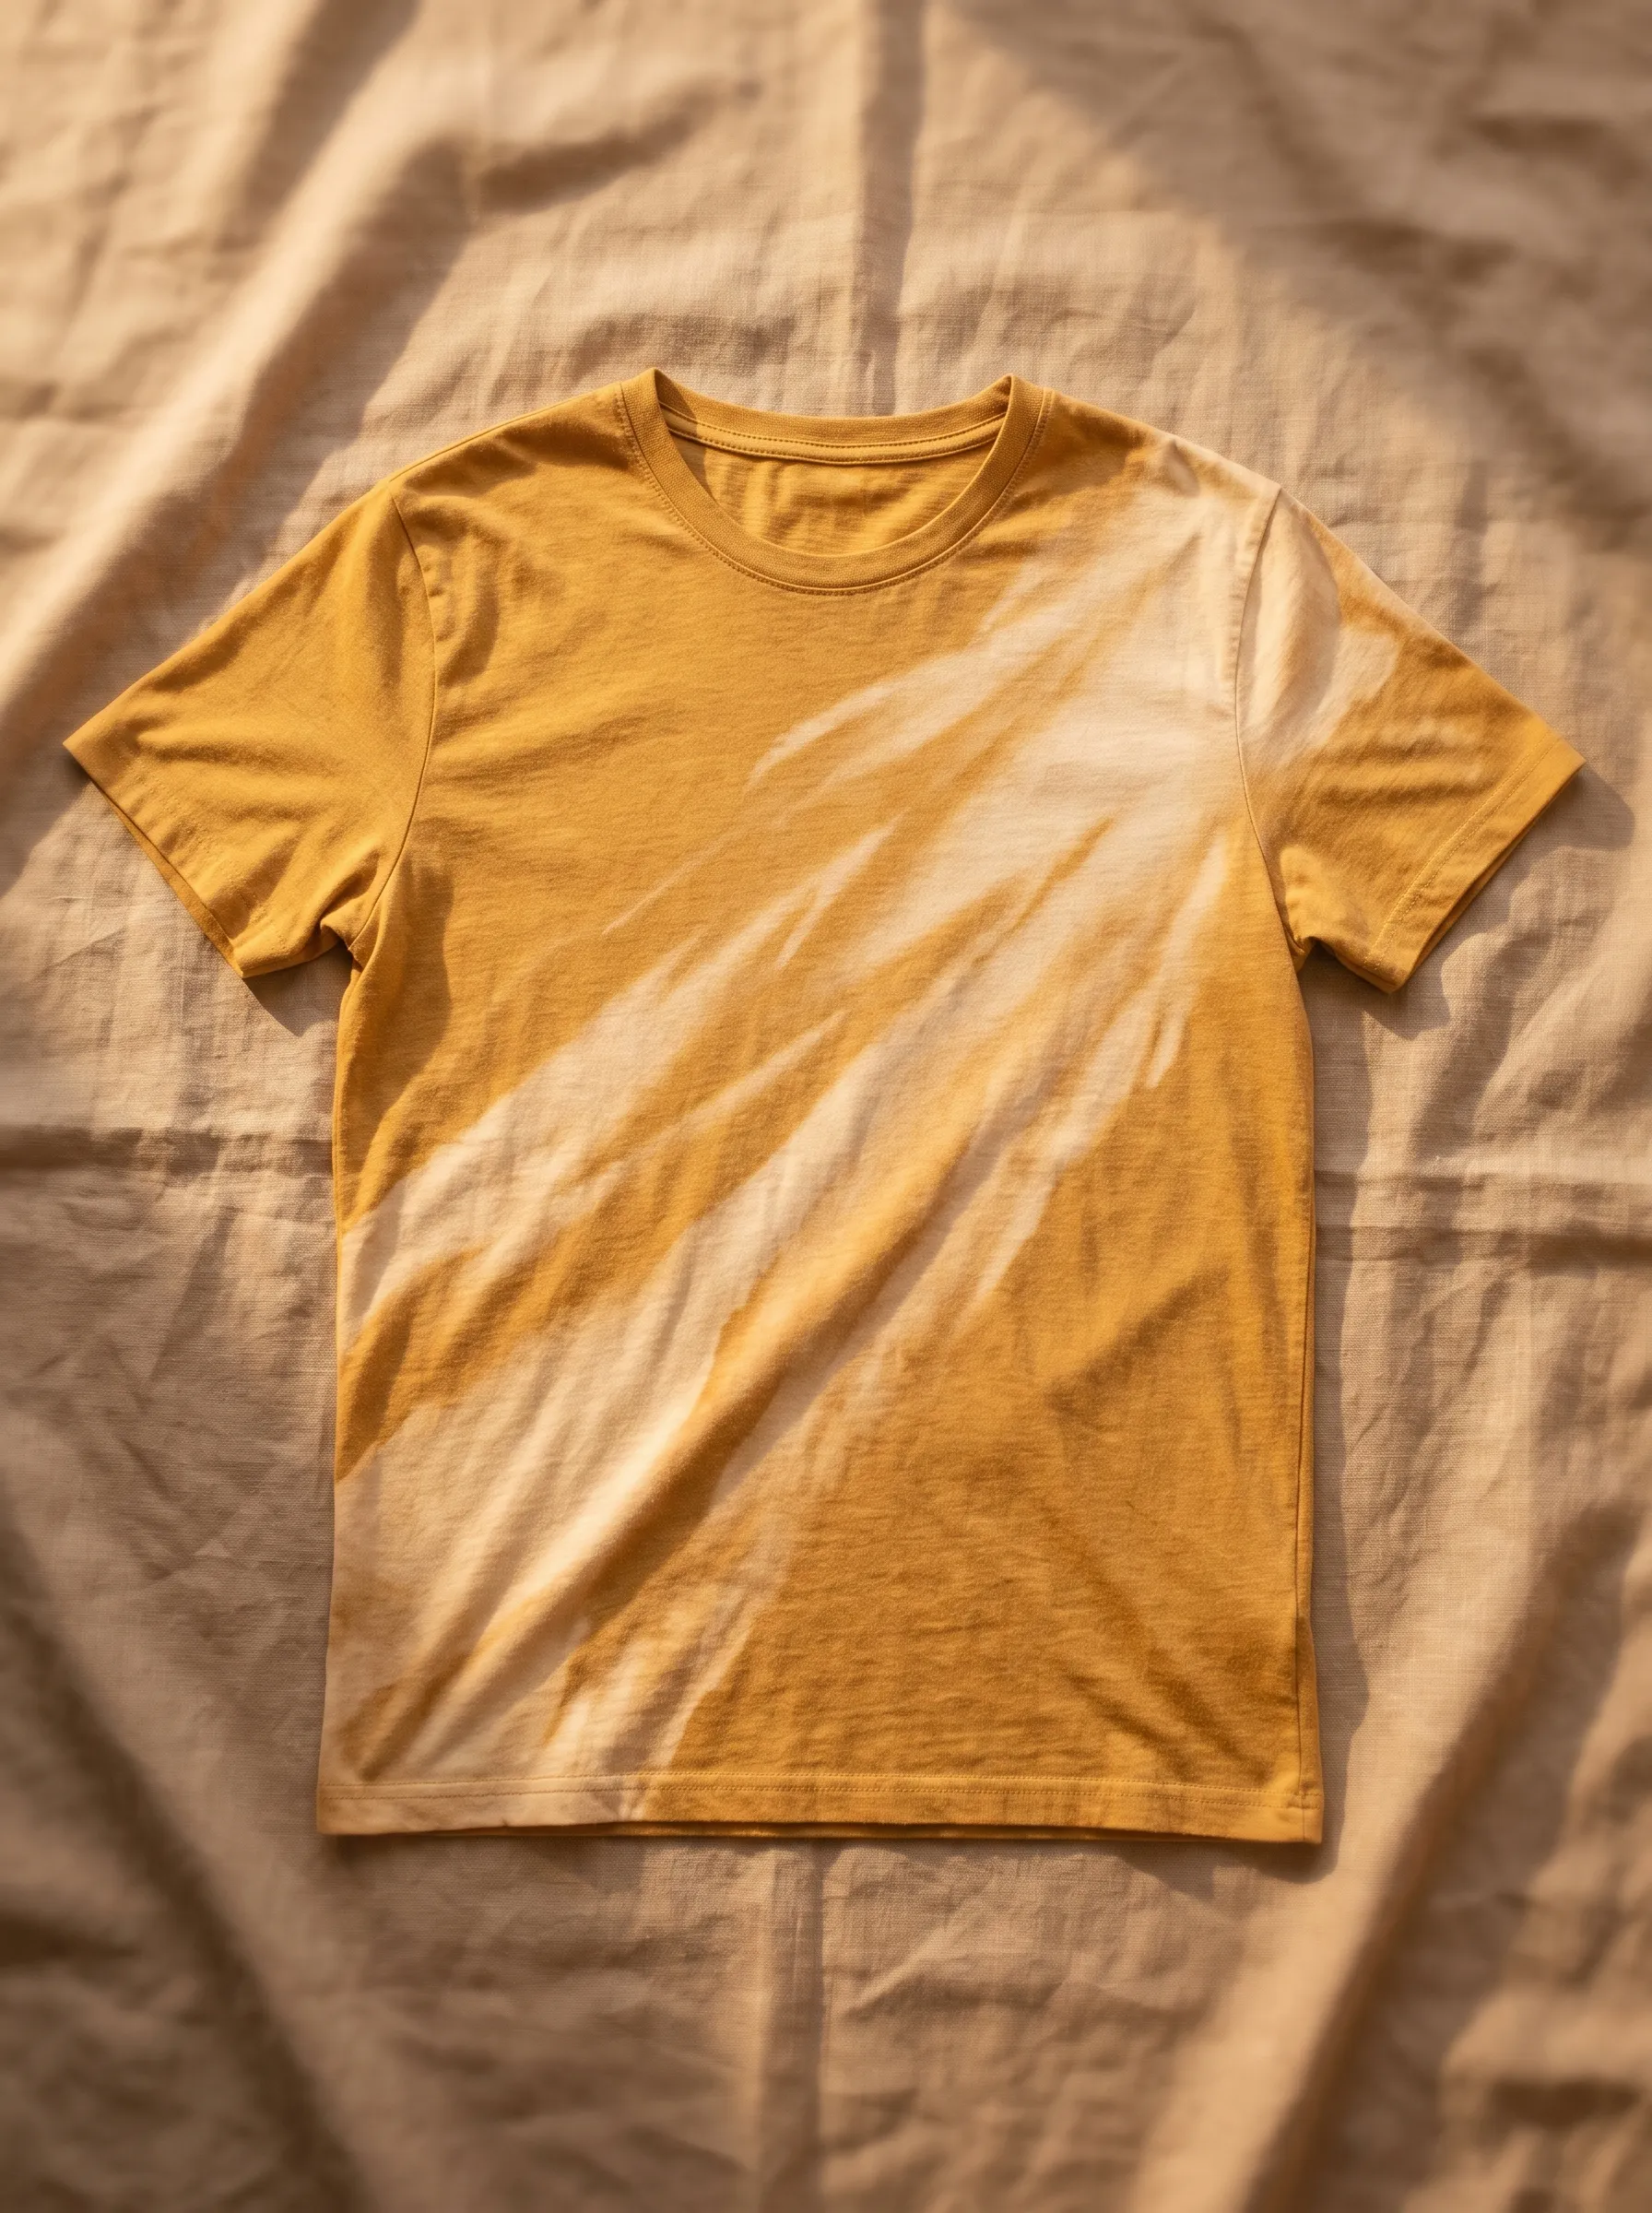
Before you pick a project, check the material tag on the shoe. Canvas takes dye and fabric paint well, leather needs specialized paint and prep, and synthetic mesh resists most dyes. Match the technique to the material first, then check the difficulty table before the FAQ, and start with the easy projects on the pair you care about least. A fresh coat of dye or paint is also how plenty of people land on a bold color redo like head turning orange instead of buying new.
Fabric Dye Refresh
Canvas shoes often fade long before the soles wear out. A liquid fabric dye restores the original color or shifts it to a darker tone, which is the most forgiving change you can make. Remove the laces and tape off the rubber soles to keep the lines clean. Submerge the canvas in a dye bath for twenty minutes, then rinse until the water runs clear. One limitation is that synthetic materials like polyester do not absorb standard fabric dye well, so always check the material tag before you start.
Air dry the shoes away from direct sunlight to prevent uneven fading while the color sets.
Care tip: wash dyed canvas in cold water on its own for the first few washes, since loose dye can transfer to lighter fabrics.
Acrylic Paint Customization
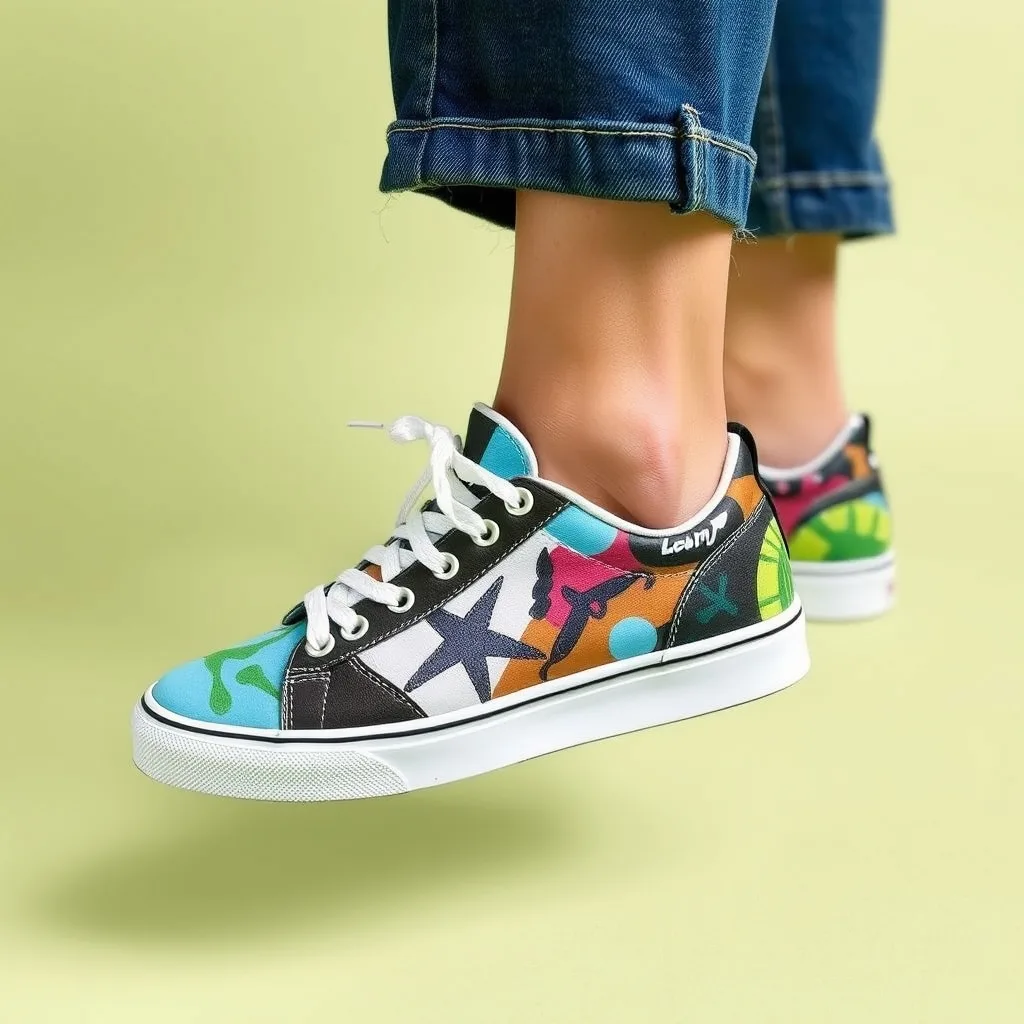
Plain sneakers become wearable art with acrylic paint mixed with a fabric medium. The medium keeps the paint flexible so it does not crack when the shoe bends. Sketch the design lightly with a pencil before applying color, use fine tipped brushes for details and larger brushes for blocks of color, and let each layer dry completely before adding the next. Keep designs simple: a heavy layer of paint makes the fabric feel stiff and wears badly at the flex points.
Seal the finished work with a clear water resistant spray to protect against light rain.
Patchwork Denim Overlay
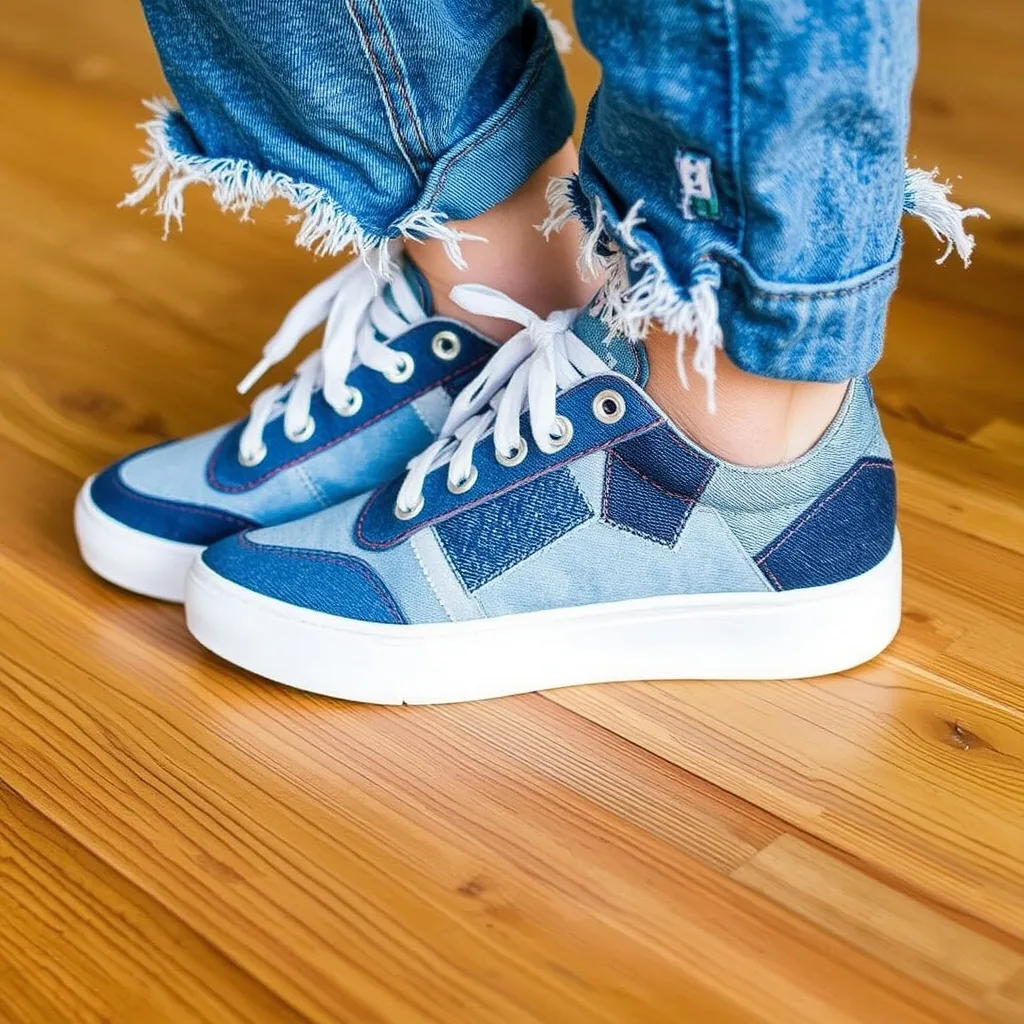
Give your sneakers a textured look by gluing small scraps of denim onto the side panels. The same no sew logic runs through the no sew clothes upcycling guide, and the upcycled denim jacket guide shows what the leftover denim can become. Use a strong fabric glue and press the patches firmly until they set. Leave the edges frayed for a rugged finish or fold them under for a clean one. This project works best on flat areas like the midfoot, where the patch sits flush and does not peel at the edges.
Too much glue bleeds through the fabric and leaves dark spots, so apply a thin, even layer and press from the center outward. This method is excellent for hiding scuffs or small tears in the original shoe material.
Wear it with: cuffed straight leg jeans and a plain tee, so the patchwork texture is the focal point.
Hardware Stud Accents
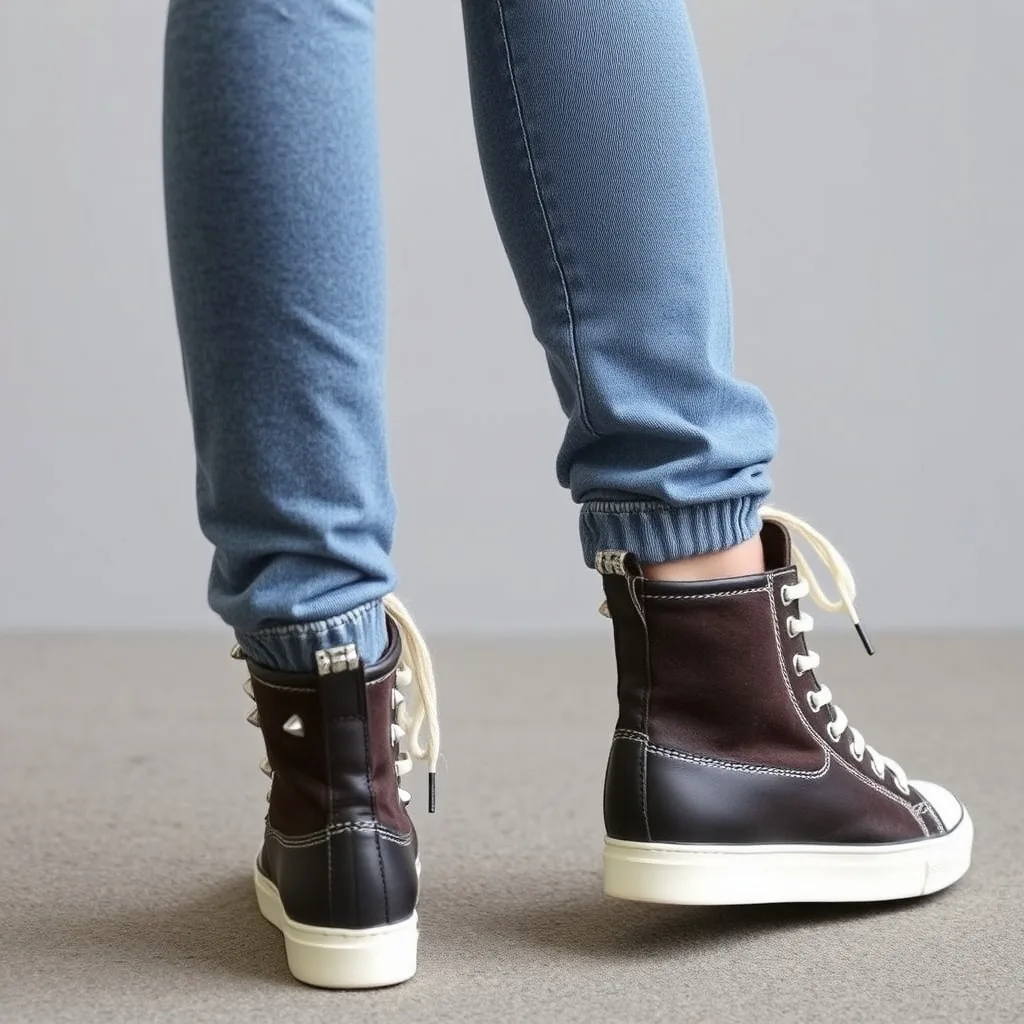
Metal studs along the heel or eyelet row add edge to boots or high top sneakers. Screw back studs hold longer than glued ones, since glue fails where the material flexes. Poke a small hole through the material with an awl, push the stud through, and tighten the backing. The trade off is weight: too many heavy studs pull the fabric and cause discomfort on long walks, so start with a few near the collar to test the weight before committing to a full design.
Space the studs evenly and keep them away from the flex points at the front of the shoe, where the material bends with every step.
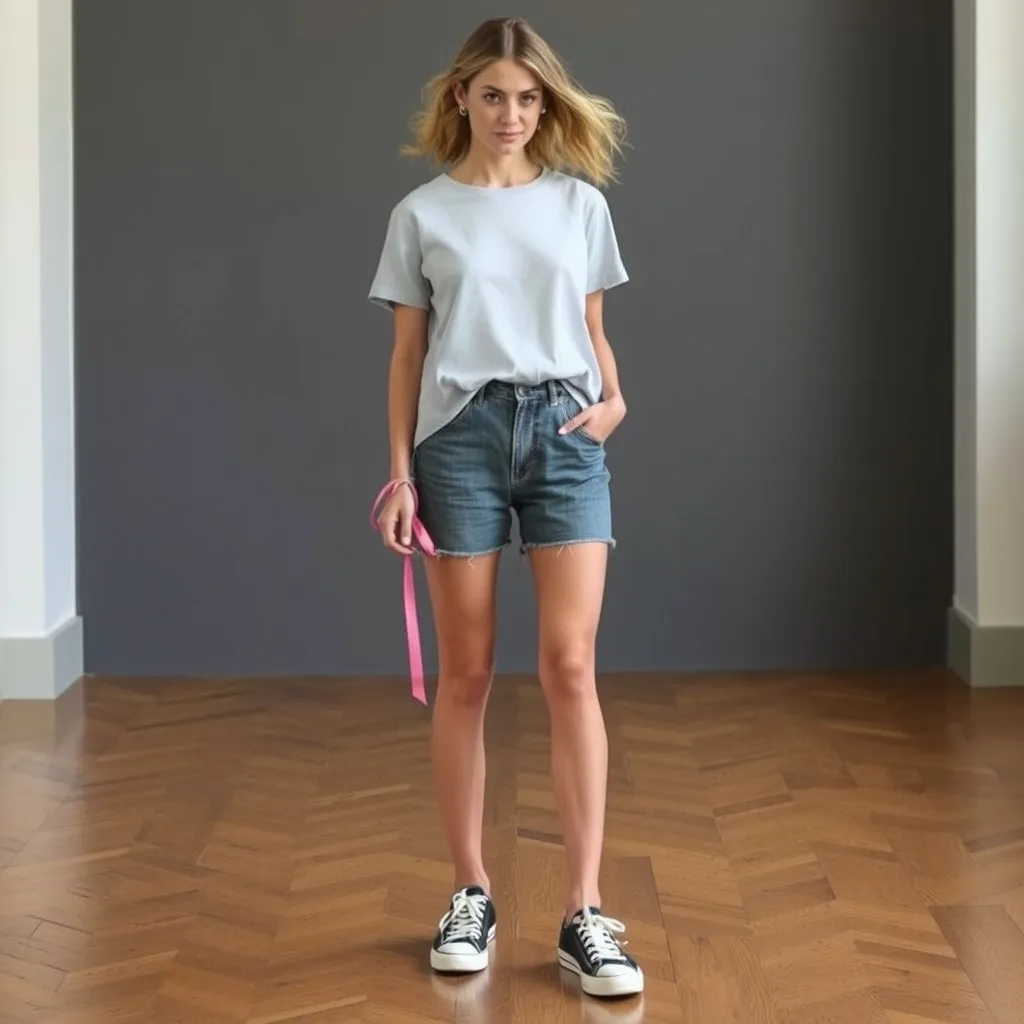
Ribbon Lace Swap
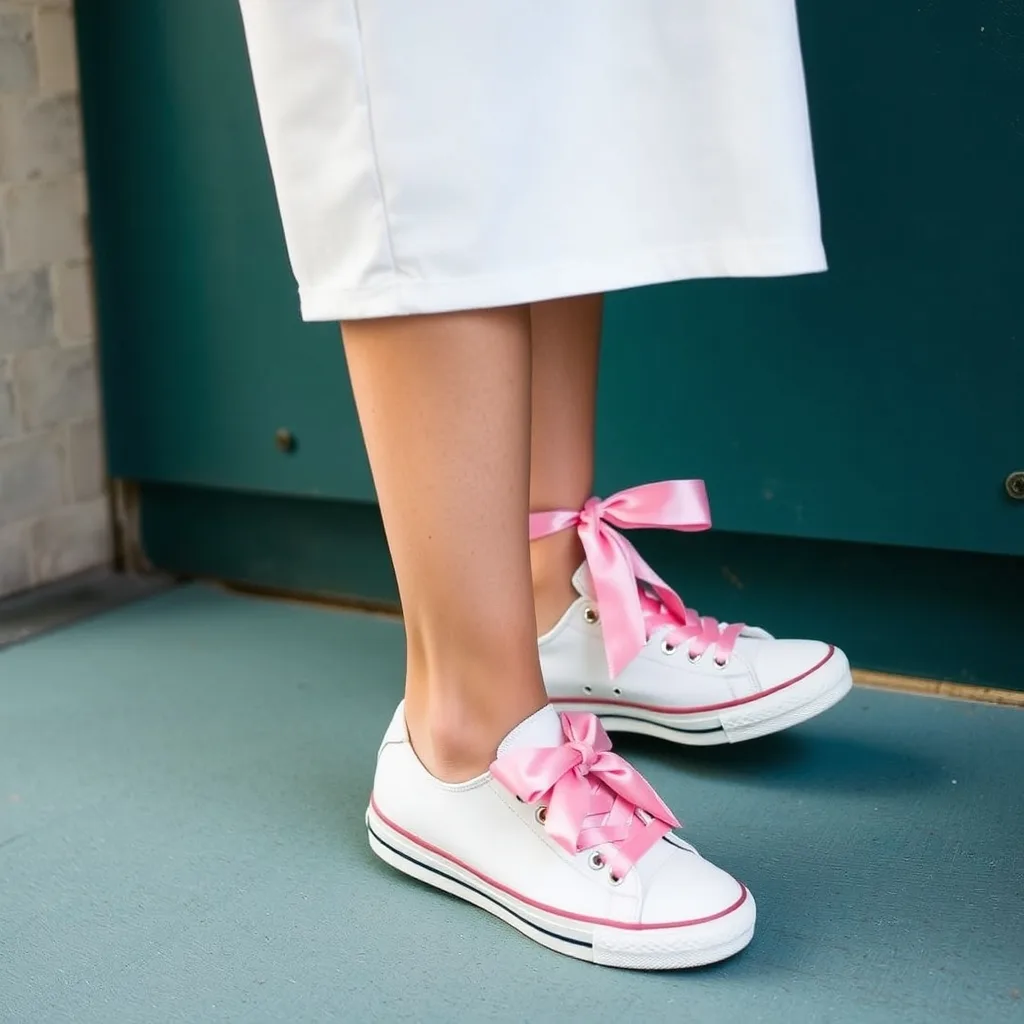
Sometimes the simplest change makes the biggest impact. Replace standard cotton laces with wide satin or velvet ribbons and the whole shoe shifts from sporty to romantic. Choose a color that complements a favorite outfit, or a contrasting shade to make a statement. Ribbon laces untie more easily than traditional ones, so double knot them for security. This is an affordable update with no permanent modification, which makes it safe even for expensive pairs.
Wear it with: a midi skirt or wide leg trousers, where the ribbon bow reads as a deliberate styling detail rather than a gym lace.
Fabric Marker Details
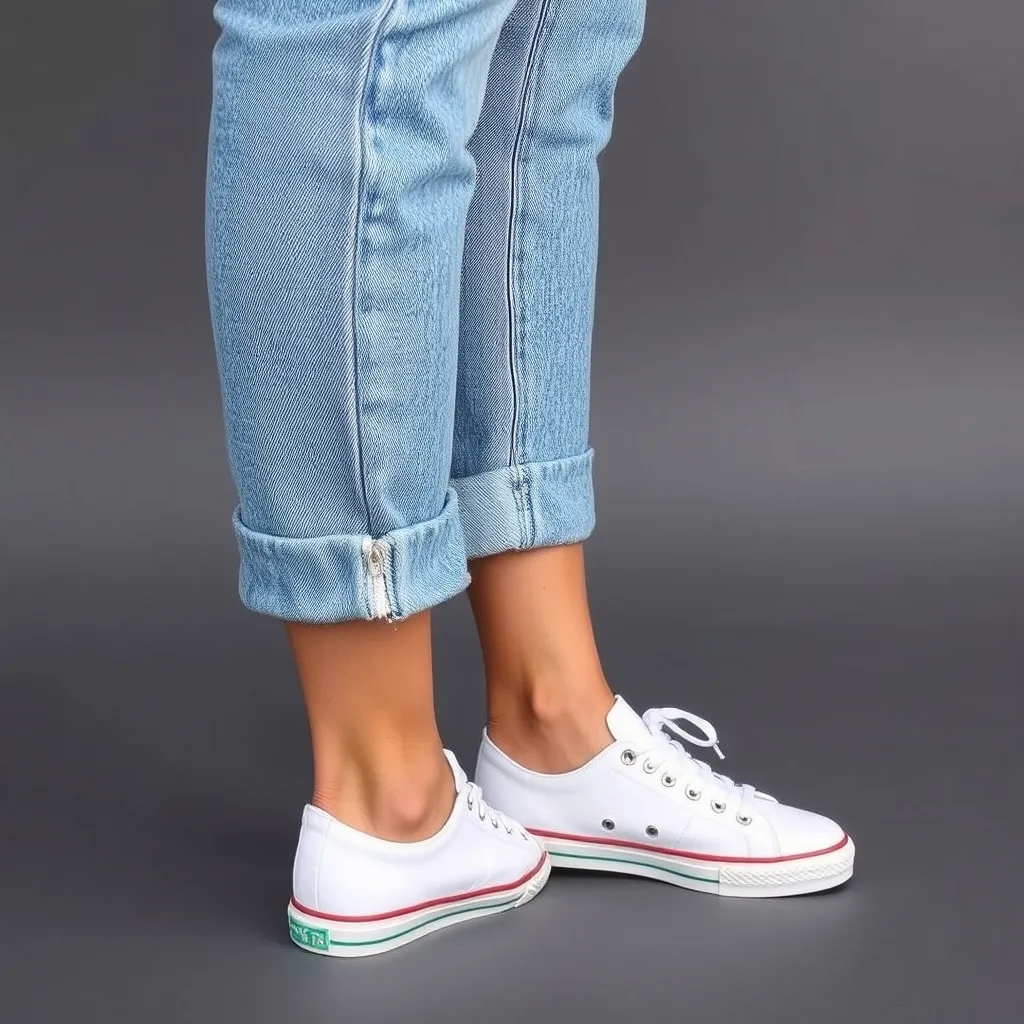
Permanent fabric markers turn plain white canvas into a doodled, quoted, or patterned pair in a single sitting. Practice the design on a scrap piece of fabric first to check whether the marker bleeds, then draw in steady, consistent strokes to keep the lines clean. Fabric markers fade with heavy wear, so keep a spare marker on hand for quick touch ups, and keep the design in areas that flex least.
This technique needs very little equipment and suits a first upcycling project, since nothing is glued, cut, or permanently altered beyond the ink itself.
Embroidered Floral Patches
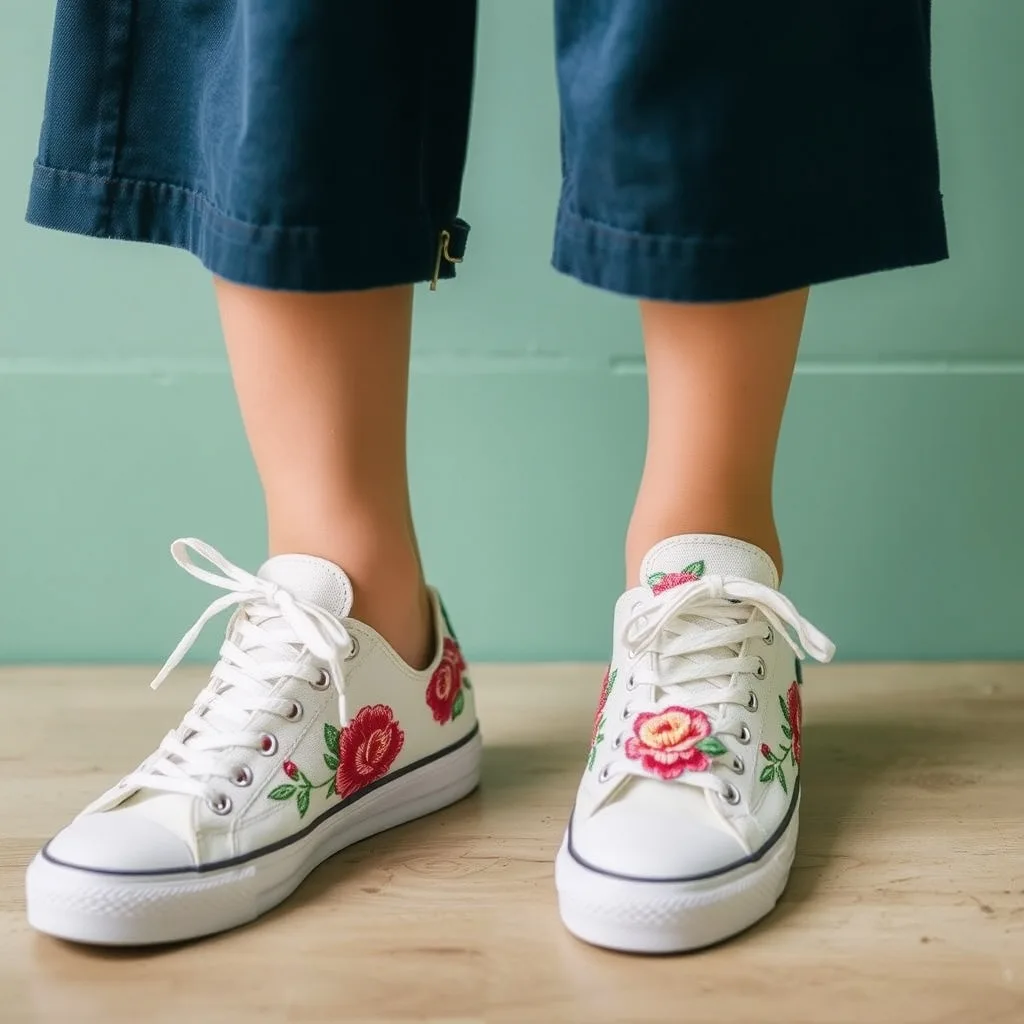
For anyone handy with a needle, embroidered patches add a tactile element that paint cannot match. Buy pre made patches or make your own with a hoop and embroidery floss, then stitch the patch onto the canvas with a whip stitch along the edge. Keep the stitches tight so the patch does not snag on trouser hems. This is also a practical way to cover permanent stains that cleaning cannot remove, giving the shoes a second life.
Care tip: hand wash embroidered shoes or use a gentle cycle inside a mesh bag, since loose threads catch in a machine drum.
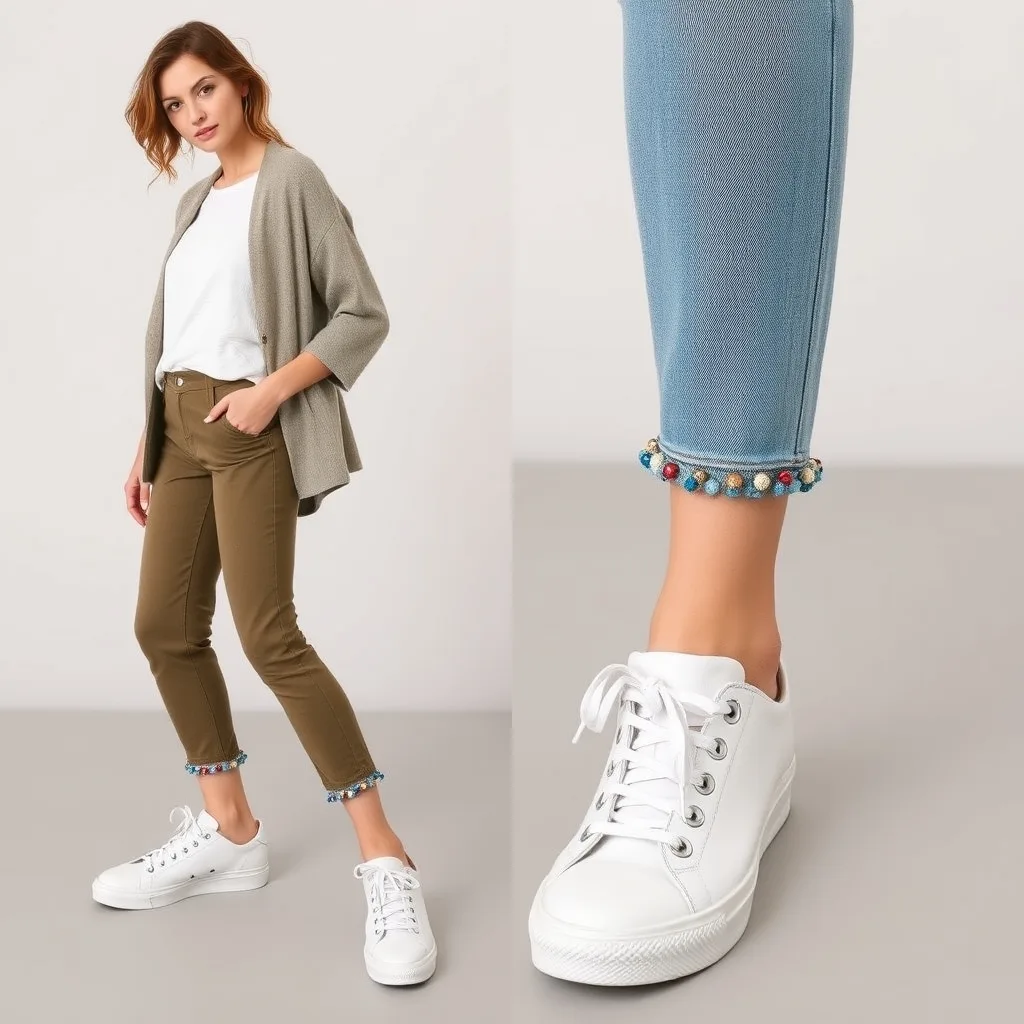
Beaded Eyelet Trim
Sewing small seed beads around the eyelets adds a subtle shimmer that catches the light on evening outings. Use a thin needle and strong nylon thread so the beads stay in place. A monochromatic bead color keeps the look refined, while a multicolored pattern reads playful. Avoid placing beads where the laces rub against the eyelets, since friction breaks beads and frays laces.
Work in short sections and knot the thread every few beads, so one broken thread does not unravel the whole row.
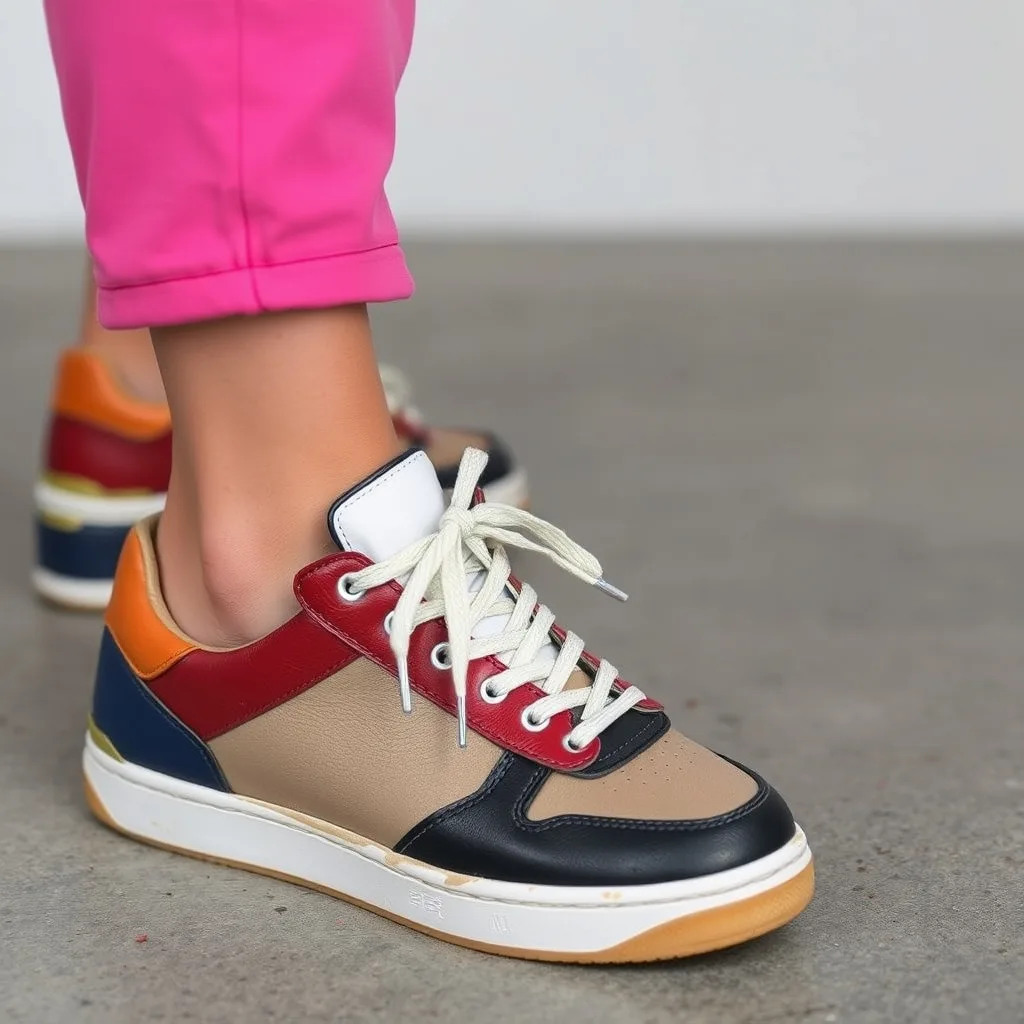
Leather Paint Color Block
For leather sneakers that look worn, specialized leather paint can color block different sections into a modern, structured design. Angelus Direct sells the leather paint and prep most customizers start with. Clean the leather thoroughly with an acetone prep solution to remove the factory finish before painting, then apply thin coats and let each dry fully between layers. Leather paint feels slightly different from the original surface, so test a small area near the heel first.
This technique gives old leather shoes a current look that matches seasonal color palettes, and the color block placement can be planned around existing scuffs so the damage disappears under the paint.
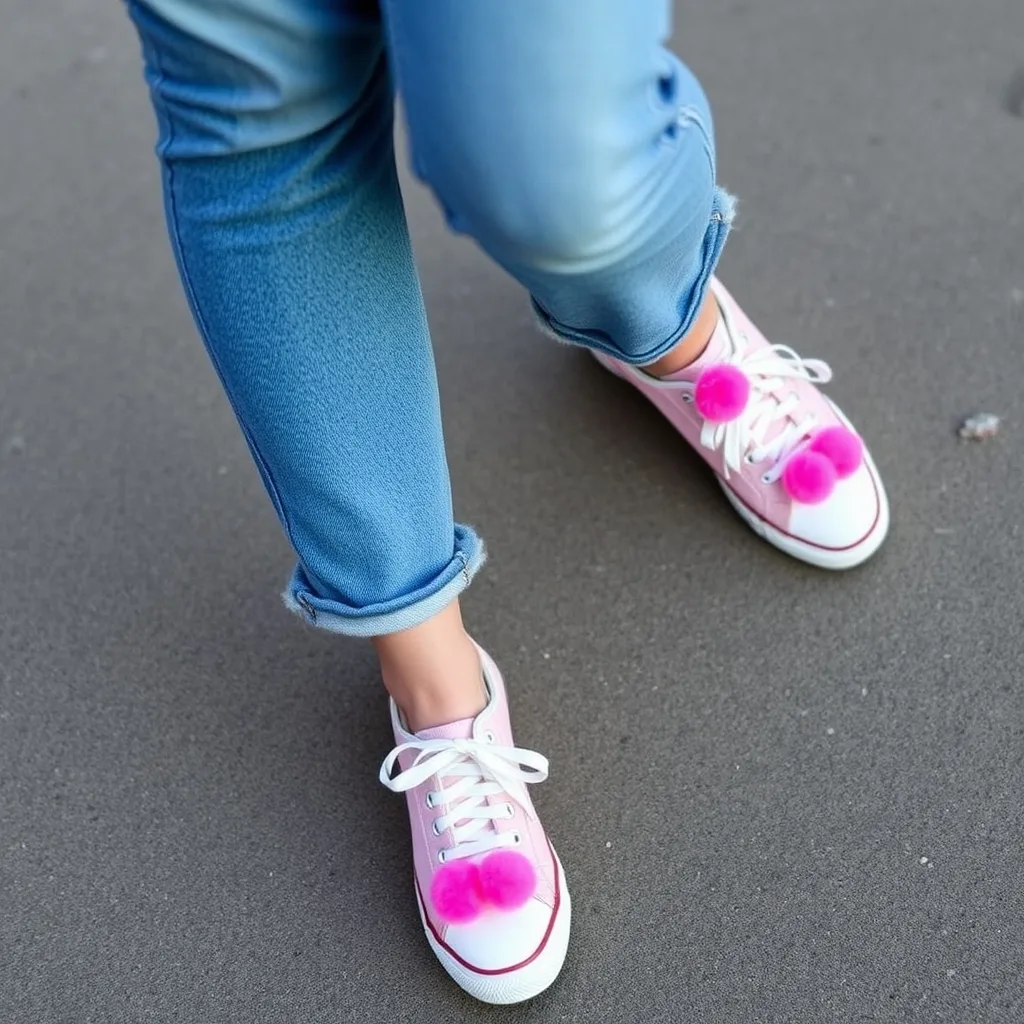
Pom Pom Toe Caps
Small pom poms glued to the toe cap give sneakers a playful, whimsical finish. Use a hot glue gun to secure them firmly, and mix sizes or build a gradient for a more dynamic look. The limit is practical: pom poms collect dust and debris, so this style suits indoor events and dry weather days better than daily wear. If they get dirty, spot clean gently with a damp cloth.
Wear it with: a simple outfit in solid colors, since the toe detail is already doing the talking.
Woven Ribbon Side Panels
If your sneakers have mesh or perforated side panels, thin ribbons can be woven through the holes for color and texture with no glue or paint at all. Start at the bottom and work upward, securing the ends inside the shoe with a knot. Make sure the ribbons lie flat against the inside of the shoe so they do not irritate the foot. The change is fully reversible, so ribbon colors can be swapped whenever the style needs an update.
Choose a ribbon width that fits the panel holes without bunching, and match the ribbon color to an accent already in the outfit for a cohesive look.
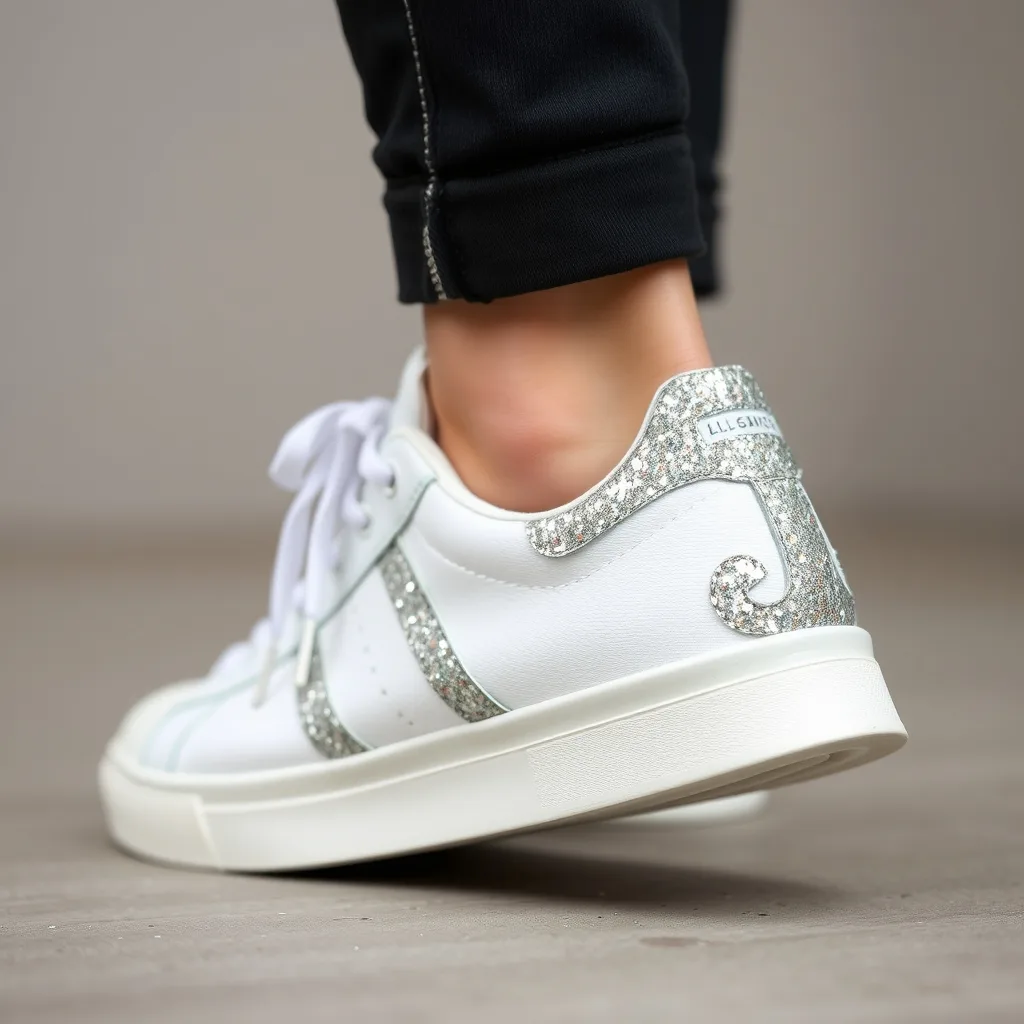
Glitter Heel Detail
A layer of glitter on the heel counter dresses up old sneakers for a night out or a festive occasion without the cost of new footwear. Mix fine glitter with a clear decoupage glue and brush it onto the heel area in two to three thin coats, letting each dry completely. Finish with a clear sealant spray to keep the glitter from shedding onto clothes and floors.
Fine glitter gives a smoother, more even finish than chunky glitter, which can look patchy and shed faster.
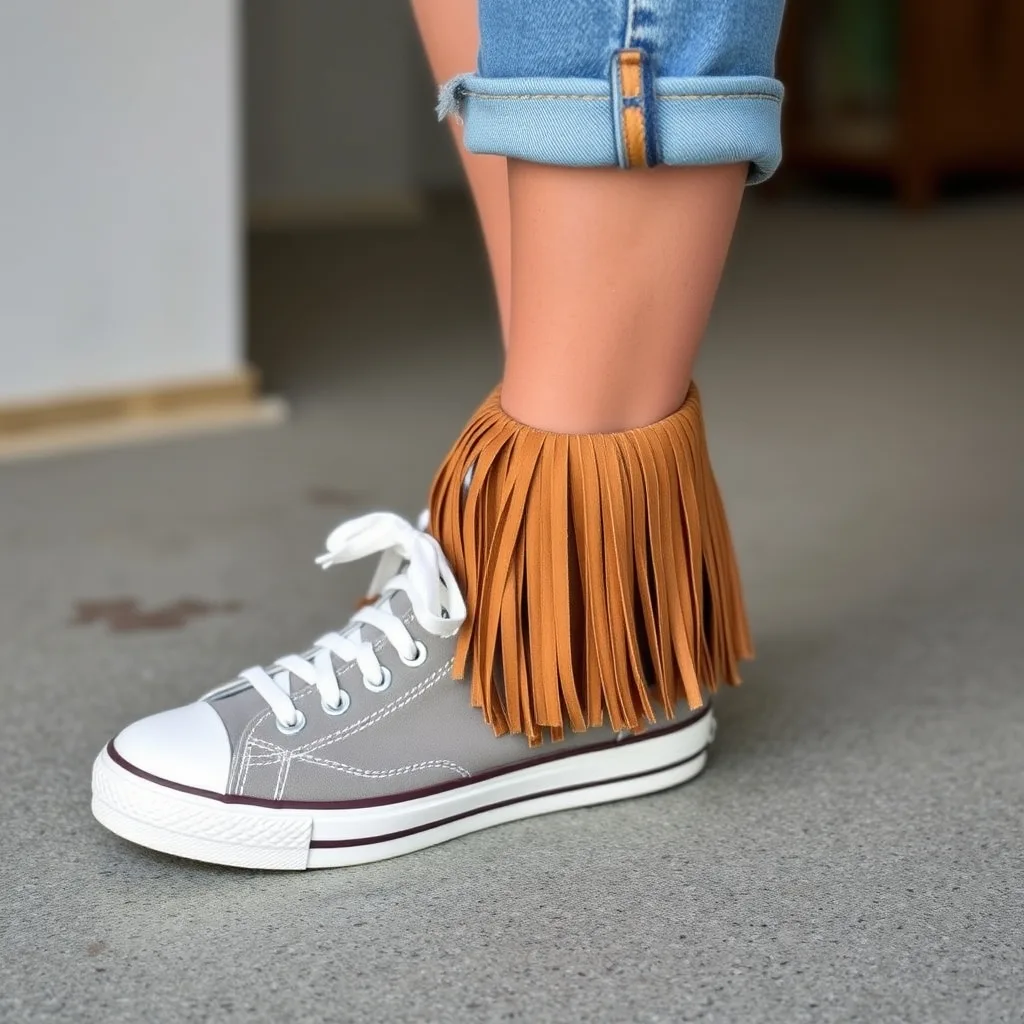
Fringed Tongue Extension
Cut a piece of scrap leather or fabric into a fringe and attach it to the top of the shoe tongue with a strong adhesive or a few stitches. The fringe adds movement and a bohemian flair, but length matters: keep it short enough that it does not drag on the ground or tangle in the laces. This style pairs well with denim and casual dresses for a relaxed, artistic look that feels intentional and custom.
Care tip: brush the fringe out after wear so it does not mat, and keep it away from velcro, which grabs loose fibers.
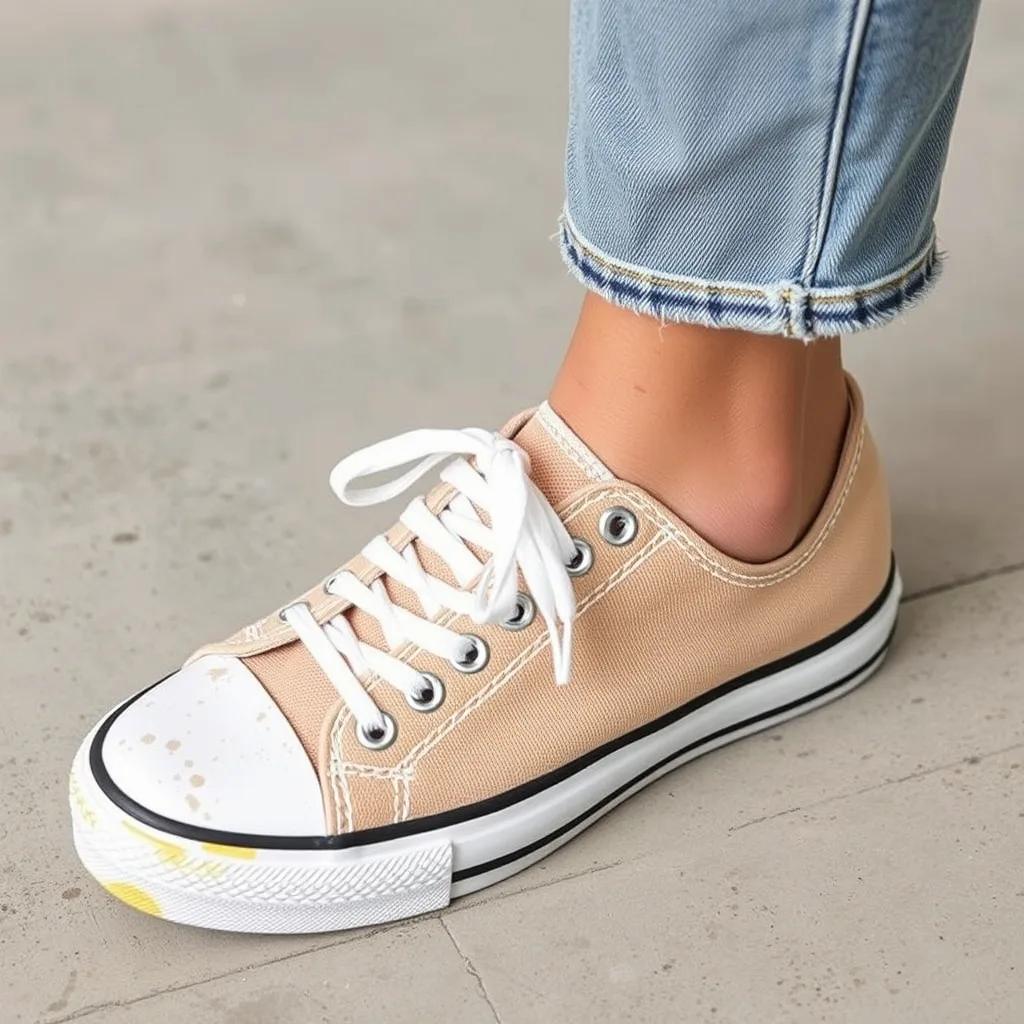
Replace Rubber Sole Edges
Yellowed or scuffed rubber soles make the whole shoe look older than it is. A specialized whitener or a high quality rubber paint restores the crisp white edge. Mask off the canvas or leather upper carefully to avoid spills, then apply the paint in thin, even layers. Rubber paint can eventually peel in harsh conditions, so save these pairs for fair weather days. The fix is small, but it makes old sneakers look brand new for a fraction of the cost of a replacement.
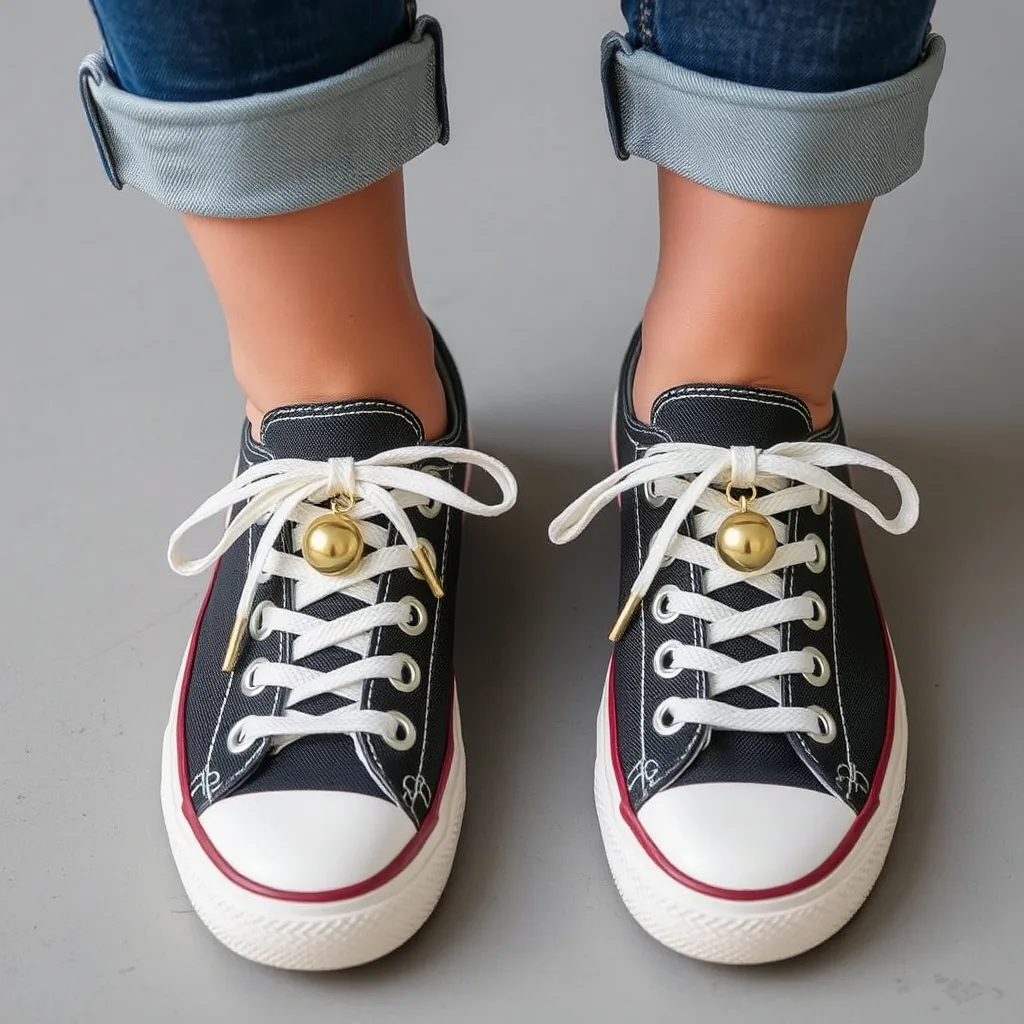
Custom Lace Toggles
Decorative toggles or charms on the lace ends are a functional and aesthetic upgrade: they make putting shoes on faster and add a finished, professional detail. Find them in craft stores or repurpose them from old jewelry, then feed the laces through and knot them at the end. Some toggles are heavy and slide down, so choose lightweight options for daily wear.
Fit note: toggles work best on flat laces that sit still; round laces let heavy toggles slip toward the toe.
Difficulty, Time and Cost for Every Tip
| Tip | Difficulty | Time and cost |
|---|---|---|
| Fabric Dye Refresh | Easy | 1 hour, about 8 dollars for dye |
| Acrylic Paint Customization | Medium | 2 to 3 hours, about 15 dollars for paint and medium |
| Patchwork Denim Overlay | Easy | 1 hour, free with scrap denim |
| Hardware Stud Accents | Easy | 30 minutes, about 10 dollars for studs |
| Ribbon Lace Swap | Easy | 10 minutes, about 5 dollars for ribbon |
| Fabric Marker Details | Easy | 1 hour, about 10 dollars for markers |
| Embroidered Floral Patches | Medium | 2 hours, about 12 dollars for patches and floss |
| Beaded Eyelet Trim | Medium | 2 hours, about 8 dollars for beads and thread |
| Leather Paint Color Block | Hard | 3 hours, about 20 dollars for leather paint and prep |
| Pom Pom Toe Caps | Easy | 20 minutes, about 6 dollars for pom poms |
| Woven Ribbon Side Panels | Easy | 30 minutes, about 5 dollars for ribbon |
| Glitter Heel Detail | Easy | 1 hour, about 8 dollars for glitter and glue |
| Fringed Tongue Extension | Medium | 1 hour, free with scrap leather |
| Replace Rubber Sole Edges | Easy | 1 hour, about 10 dollars for whitener or rubber paint |
| Custom Lace Toggles | Easy | 15 minutes, about 5 dollars for toggles |
Start with an easy tip on a pair you do not mind risking, and save the leather paint and embroidery for the pair you love once you trust your hands.
Frequently Asked Questions
What should I do before dyeing or painting old sneakers?
Clean the shoes thoroughly to remove dirt and oils. Use a soft brush and mild soap for canvas, or a leather cleaner for leather surfaces, and let them dry completely before applying paint, glue, or dye. A clean surface is what makes materials adhere properly and last. Nike's guide to cleaning shoes covers canvas, leather and suede prep before you start.
Which paint works on canvas sneakers versus leather sneakers?
Acrylic paint mixed with a textile medium is the best choice for canvas, because it stays flexible when the shoe bends. For leather, use specialized leather paint designed to bond with the surface without cracking. Always apply thin layers and allow enough drying time between coats.
What is the cheapest way to upcycle shoes at home?
Ribbon lace swaps, hand drawn marker designs, and whitening old soles are the most affordable projects, since they use supplies you may already have. Fabric scraps and beads are inexpensive at thrift stores. Creativity matters more than expensive supplies for these home projects.
How do I keep custom sneakers comfortable to wear?
Avoid heavy materials like metal studs or thick layers of paint where the foot flexes. Keep designs lightweight and flexible, and place patches or ribbons where they will not rub against skin or cause friction during daily wear.
Do these upcycling methods work on every shoe type?
Most methods work well on canvas or leather sneakers. Avoid heavy glues or paints on delicate fabrics like silk or satin, since they can cause permanent damage. Test the chosen materials on a small, hidden area of the shoe first to see how the fabric reacts.
Before You Start: A Quick Checklist
- Check the material tag first, then match the technique to canvas, leather, or mesh.
- Clean the shoes and let them dry completely before any paint, glue, or dye.
- Test every new material on a hidden spot near the heel.
- Start with a ten minute project, like a lace swap, before attempting a full repaint.
- Seal painted work and let it cure fully before wearing the shoes out.
Save this guide for the next time a favorite pair starts looking tired. Whether you try a simple lace swap or a full paint customization, your next project is already sitting in the closet. If the shoes are beyond saving, the thrift flip guide shows how to source the next pair for a few dollars and rebuild it from scratch.